How to apply hair colour on your own—5 lessons I’ve learned from my DIY hair dye jobs
I'm dye-ing to tell you
They don’t call me BURO’s resident DIY hair expert for nothing (they really don’t)—I’ve got some nifty know-how when it comes to drastic 3AM hair transformations and I’m sharing it all with you.
So, I have this cute (writer’s note: it’s definitely not cute) little compulsion to do terrible, terrible things to the hair on my head. Sometimes it’s along the lines of a spontaneous fringe, sometimes it’s a middle-of-the-night DIY impulse cut and colour and sometimes I’ll straight-up pay a salon to damage my hair beyond repair for me (but we’ll get back to that).
Call it a cathartic release, or my magnum opus. Regardless, over the years of DIY jobs, I’ve picked up a few tips and tricks. From bleaching technique to colour theory, here’s how to dye your hair yourself.
Bleaching 101
This all started 11 years ago when 11-year-old me watched one My Chemical Romance music video and decided she wanted an edgy emo dip-dye at any cost. Since then, I’ve had some terrible experiences chasing that dream, particularly at hair salons, each time leaving with some concoction of awful. Looking back, I’ve realised that my main mistake was that because I trusted the stylist at my regular hair salon to cut my hair, I didn’t think to check whether they actually knew how to dye hair (Spoiler: they didn’t).
For instance, there was the time I went in with a vision of two-toned black and lavender locks and left with a splotchy blue-green-brown mess. Then, there was the other time I went (to the same salon—I know, I forgive too easily) asking for a trendy dark brown balayage and left with what can only be described as a vomit blonde dip-dye that came up so high that I couldn’t even cut it off.
Funnily enough, I’ve developed a *thing* against hair salons since; I figured that if I was going to ruin my hair I sure wouldn’t pay someone to do it for me.
So after growing my hair out and starting with a head of virgin hair, I decided I wanted to dye the underside of my hair a cool pink. One of the first things I learned was how to apply bleach in the first place; it’s a delicate process.
View this post on Instagram
Going in small sections, start with the mid-lengths and ends of the hair, leaving the first two centimetres of hair bare. This is because your roots develop faster than the lengths thanks to the heat of your scalp.
For dark hair, fold each section of hair into some aluminium foil which will retain heat and moisture to help you achieve the maximum lift. When the rest of the hair has developed to a light yellow, you can then start applying the bleach to the roots, making sure every layer is covered.
Leave the hair to process for up to 45 minutes (or as directed by the packaging) and wash and dry the hair. If done correctly, you will be left with evenly bleached tresses that are as light as the inside of a banana peel. This is the perfect base for any kind of colour.
However, if your hair is particularly dark, you may end up with a more orangey blonde. Unfortunately, this means you’ll have to go through a second round of bleach—be patient and wait for at least a few days before bleaching your hair a second time to allow your hair to recuperate (and make sure to mask up in between)!
Still confused? Here’s a tutorial!
Get acquainted with colour theory
Now you may be eager to throw some fresh colour on your freshly bleached ‘do, but I urge you to hold off and assess the situation.
In the case of my hair, my bleach job was even and light but also had a lot of warm yellow and brassy undertones. So, if I were to apply cool-toned colours like blue over the top, I’d be left with a murky green. At this point, you have to apply colour theory to neutralise your canvas so that your dye applies true to colour.
The colour wheel dictates that the complementary colour pairs are red and green, blue and orange and purple and yellow. Therefore, these colours cancel each other out to neutralise the hair tone.
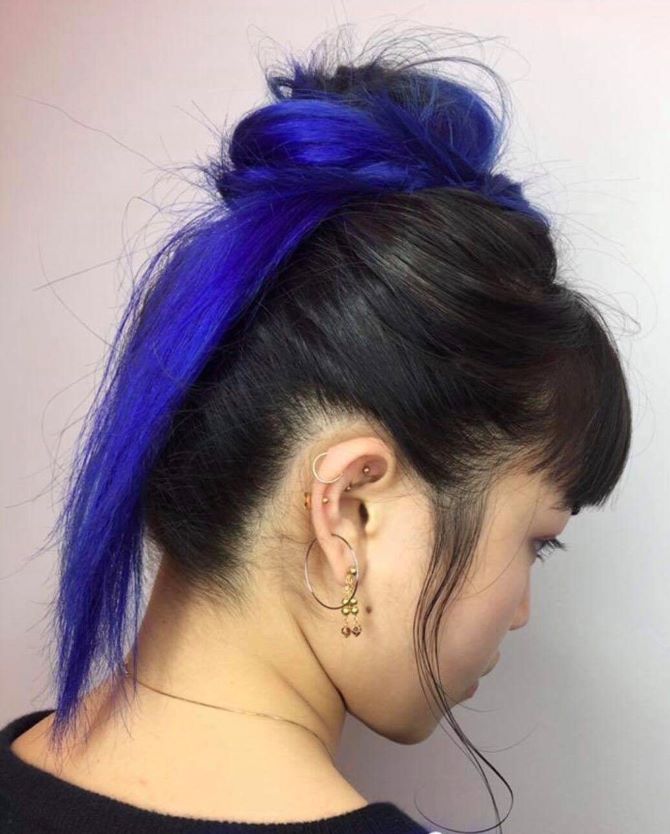
So, what does that even mean? Well, in the case of my pink pursuits, no further toning was necessary post-bleach as I had intended to use a warm colour over the warm-toned bleached bits. However, a few months later I decided I was bored and wanted to go blue instead, so I stopped doing colour touch-ups and allowed the pink to fade back into that same warm blonde.
To go blue, I had to use a purple toner to neutralise the yellow tones, which brought my hair to a neutral base. The same principles apply to any other undertone you would like to neutralise—use the complementary colour.
Know when to consult a salon
So it’s all good and dandy that I learned how to bleach and dye my own virgin hair, but what did I do after each tragic debacle at the hands of the nightmare hair salon? My hair was not only damaged beyond repair; it was also extremely uneven in colour and condition with some parts being lighter and more damaged than others.
Although the aforementioned vomit-blonde dip dye was truly dire straits and I was desperate for a fix, I was also aware of the extremely poor condition of my hair and wanted to avoid losing an entire head of hair to bleach breakage.
View this post on Instagram
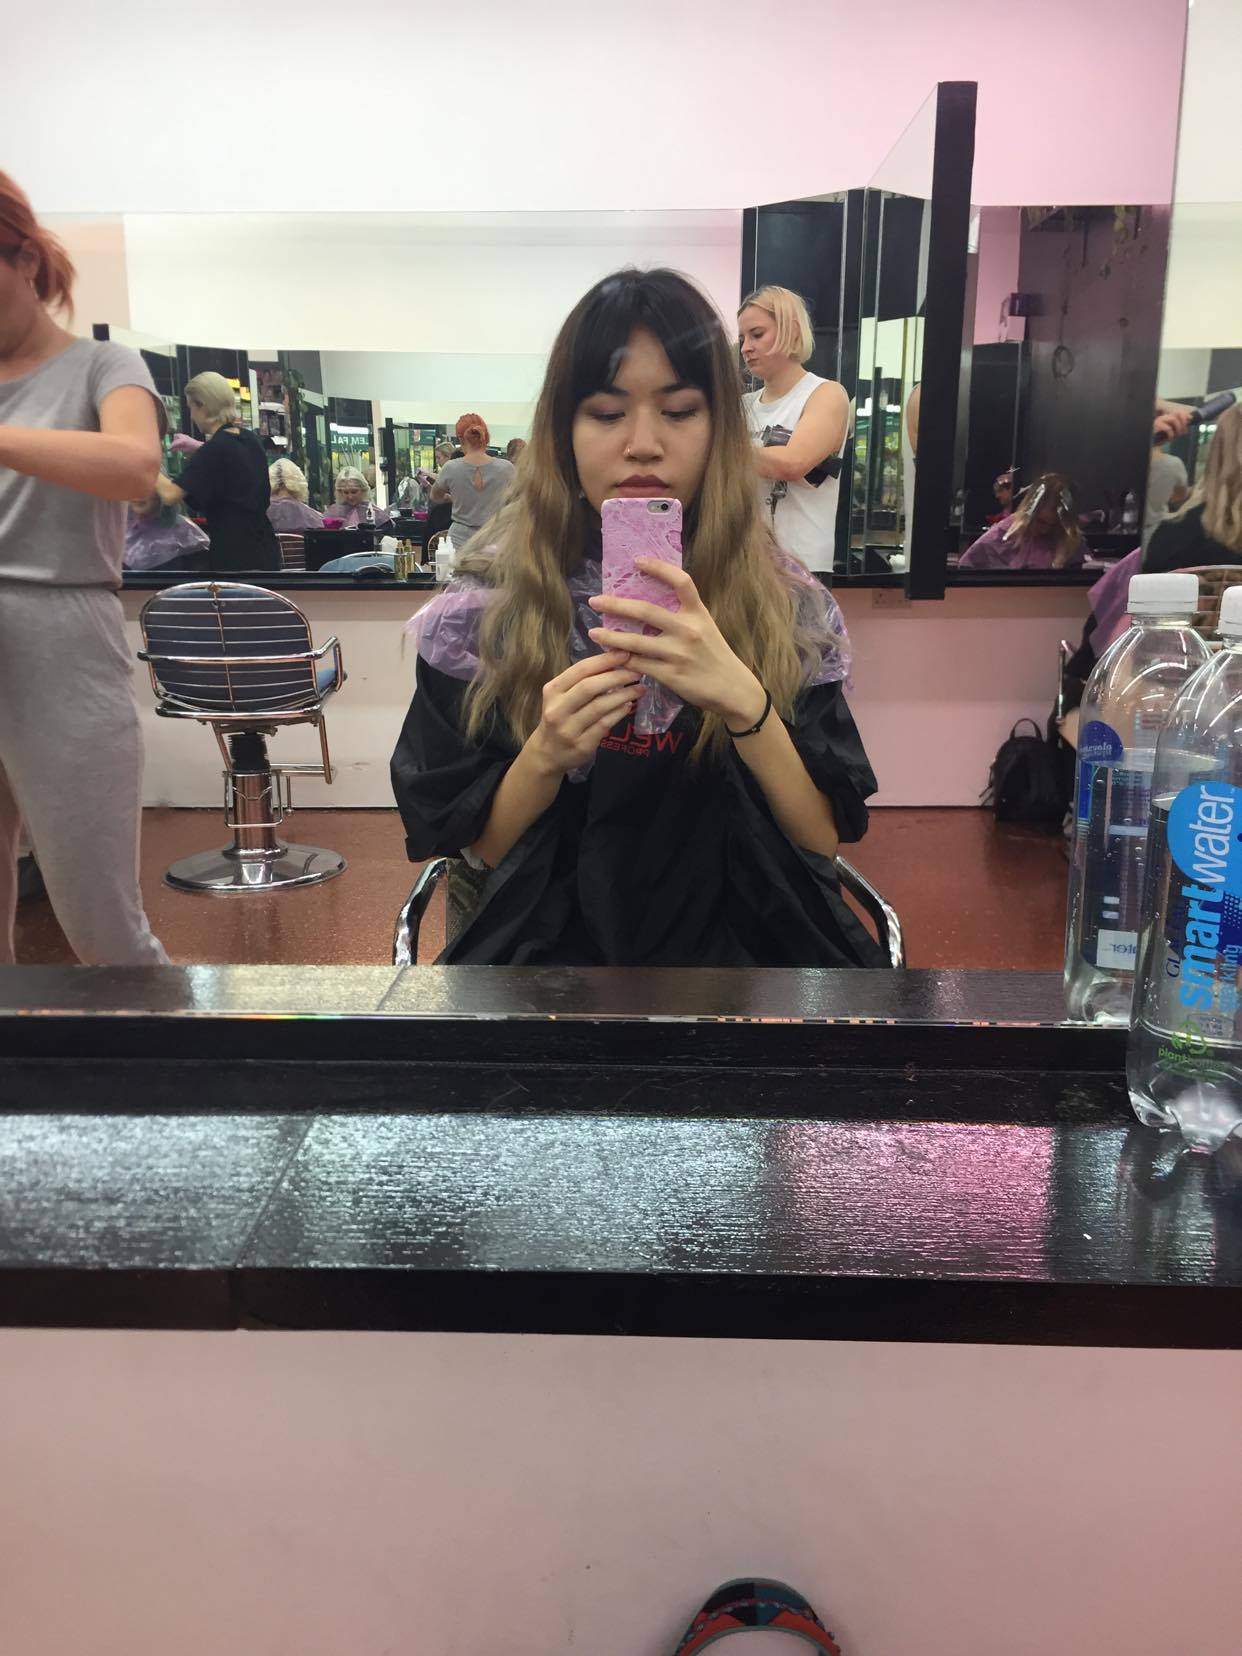
So, I opted to consult a salon that specialised in hair colour. During my very long consultation, I was informed that although some parts of my hair would take to cool-toned colours like blue or purple, there were too many splotchy parts with overly-warm undertones.
They advised me to deep condition my hair religiously so that I would be able to come back in six months and have a touch-up bleach session done with their professional stylists to even out the blonde base. It wouldn’t be perfect (when I said my hair was damaged, I meant that it was damaged), but it would be closer to even.
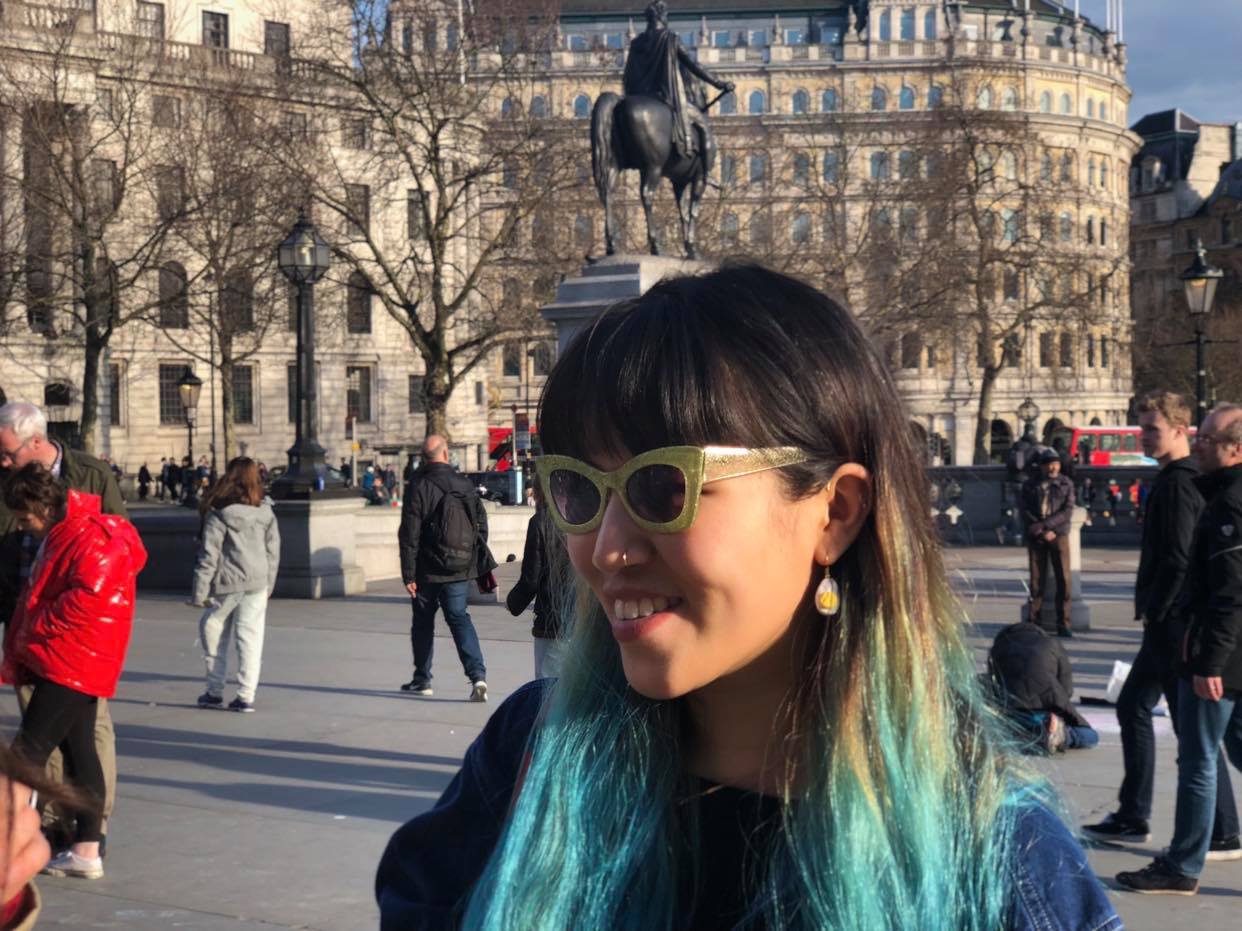
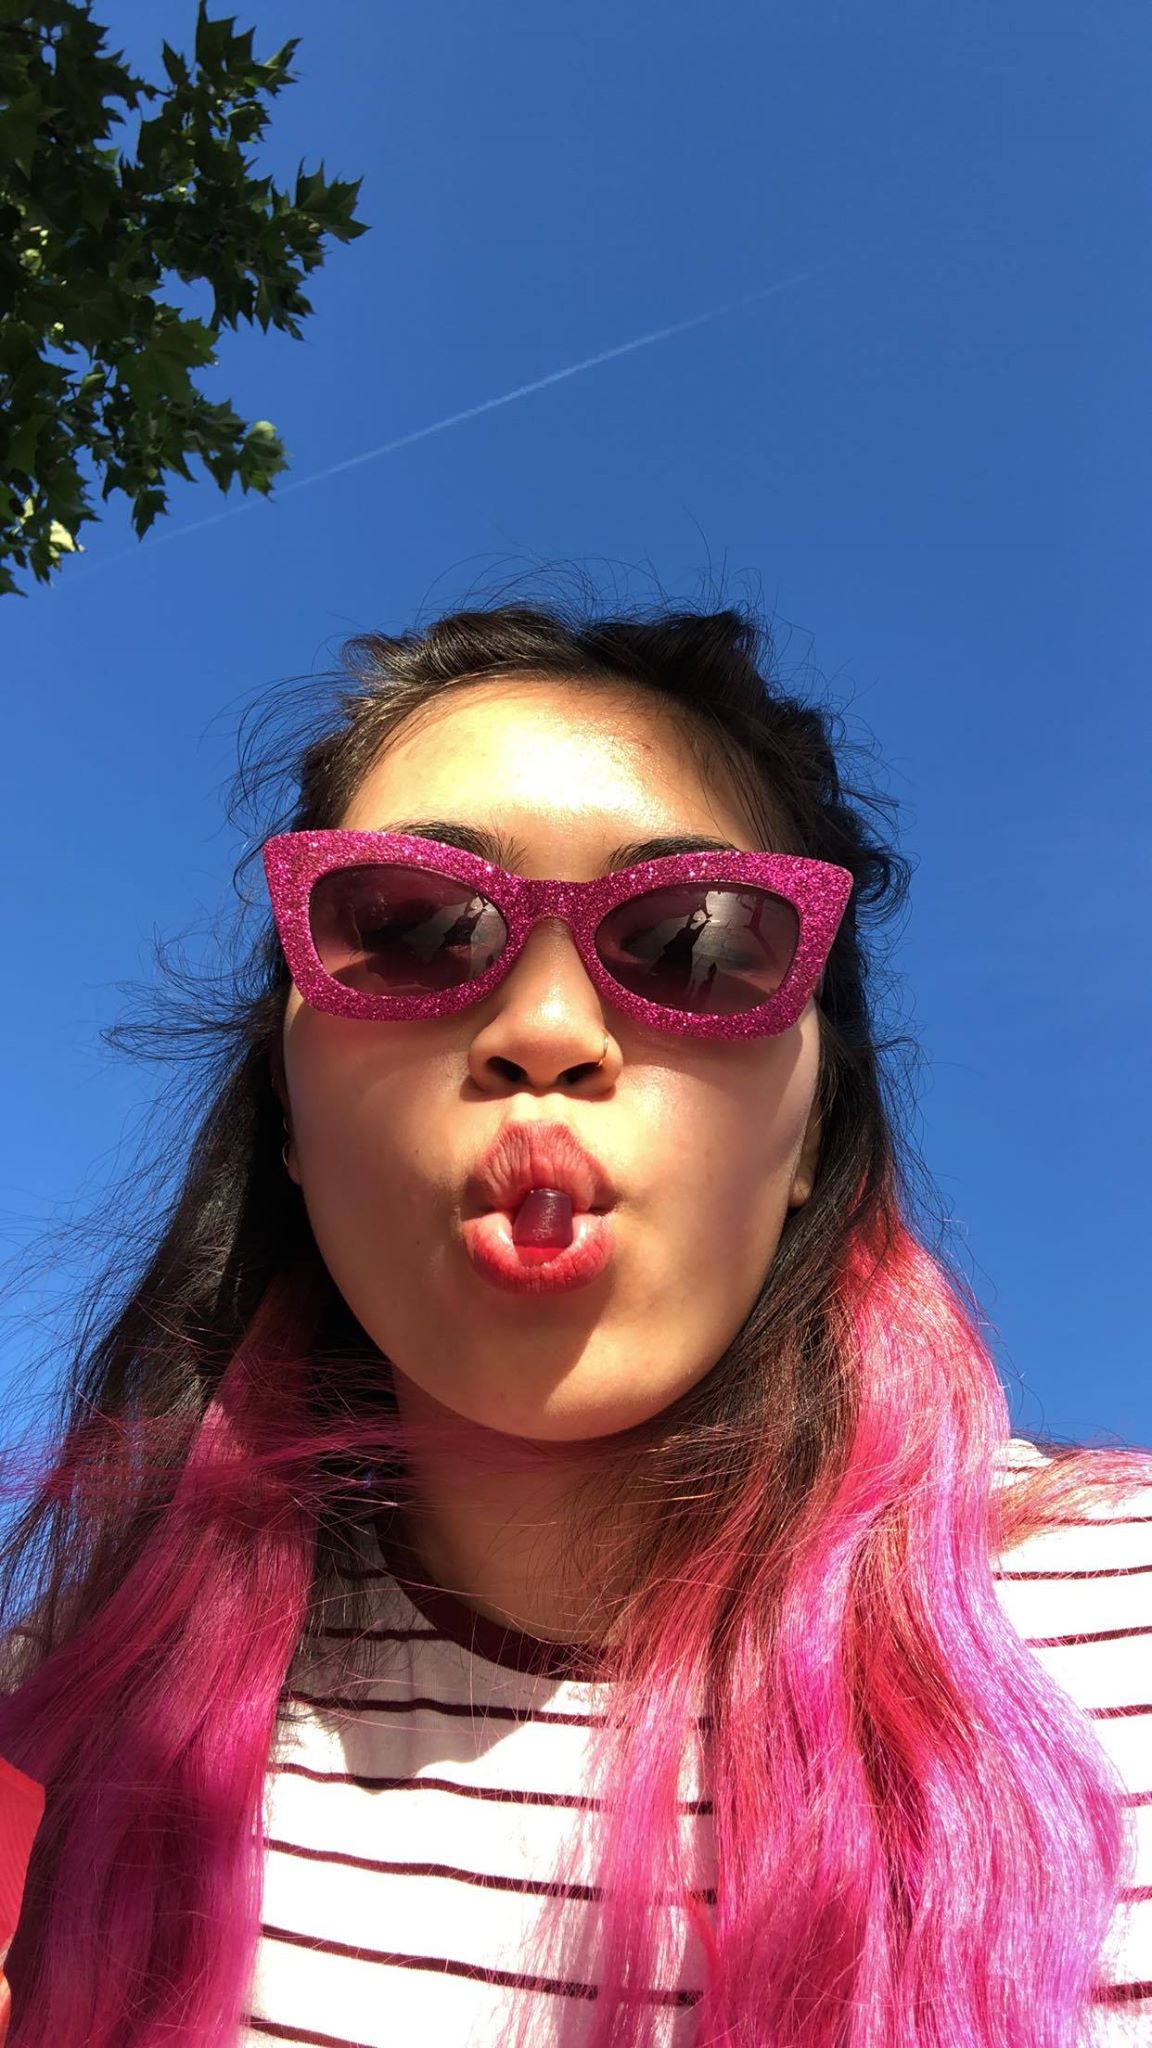
In the meantime, I could cover the botched job better with warm-toned dyes. The key here was to use super bright reds, pinks and oranges—the brighter the dye, the more even it looks on an uneven bleached base. So, I went for a pink and orange dip dye and slathered myself in assorted hair masks, waiting for the condition of my hair to improve enough to return to the salon. Six months later, I eventually left with the electric blue hair of my dreams!
Be wary of blue
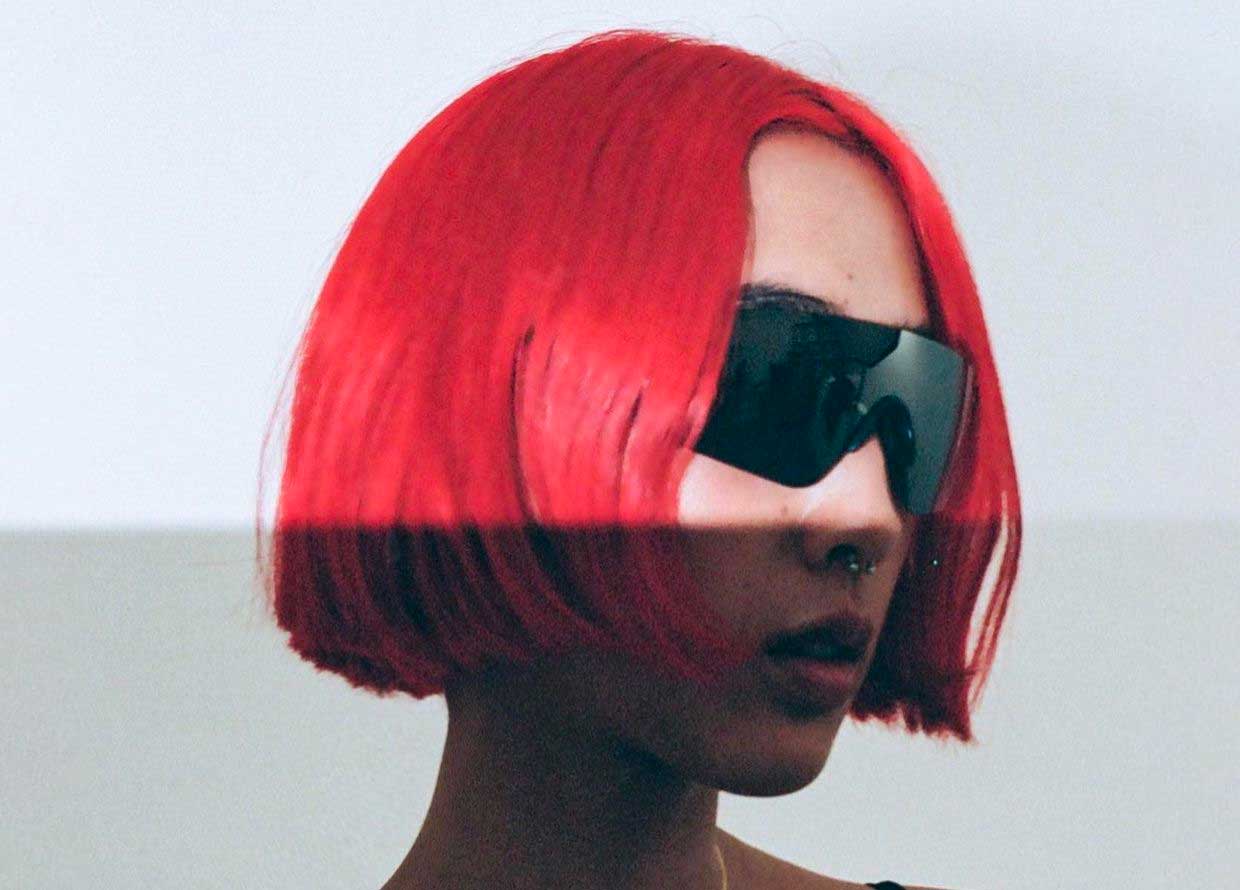
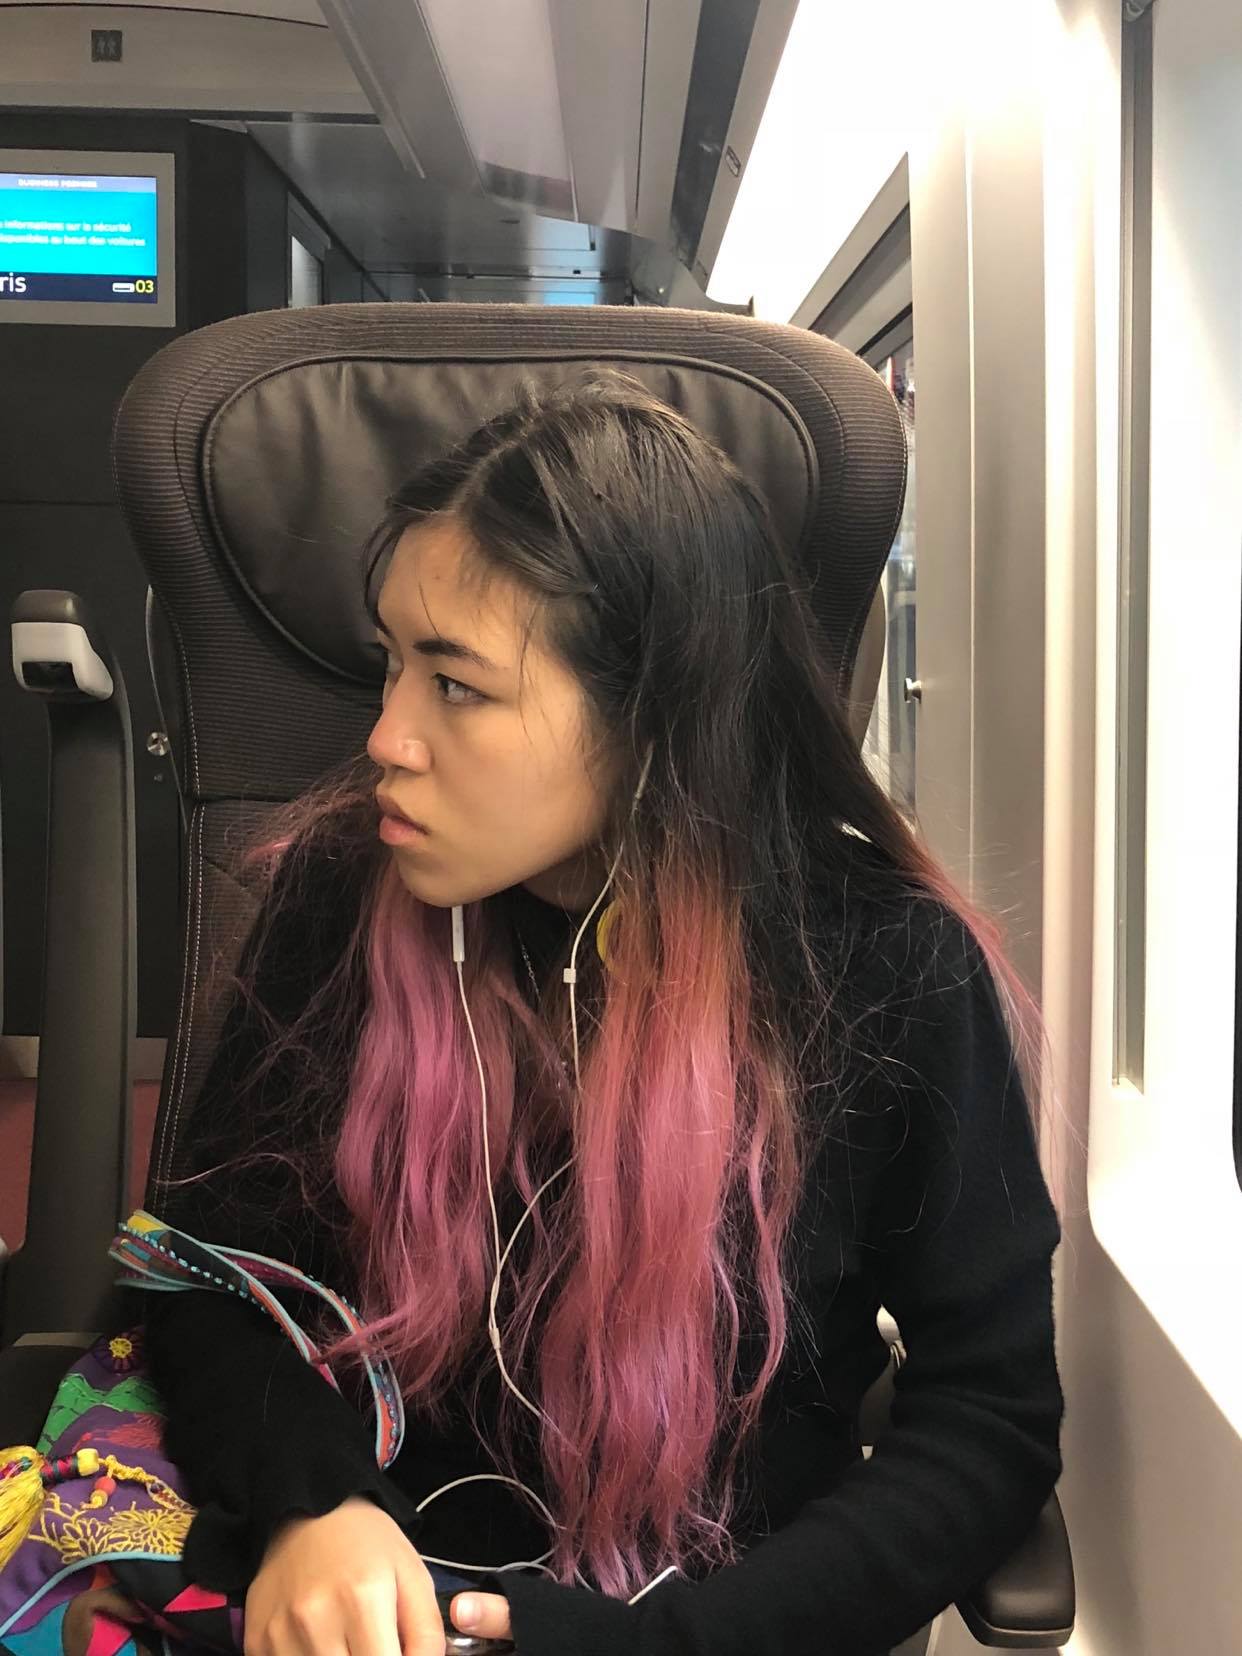
Something I had to learn the hard way is that if you decide to dye your hair blue, you should be prepared to stick with it for a very, very long time. In total, I had blue hair for five months (no touch-ups), and for around three of those months, my hair was better described as bright turquoise (with a murky green-brown transition).
Basically, blue dye stains your hair, especially when it’s super damaged. It was extremely stubborn and just wouldn’t wash out, so I ended up having to go over it with a bleach wash (a mixture of equal parts bleach and shampoo) to fade the blue-green colour out enough so that a bright pink could cover it.
Condition your hair!
This one is a no-brainer. Bleach is incredibly damaging and will leave you with extremely porous, dry hair. This is why we minimise the amount of damage done by only bleaching *just enough*. Once the damage is done, keeping on top of your hair care routine by regularly conditioning and applying hair masks will keep your hair looking and feeling its best.
For more hair tips, click here.
| SHARE THE STORY | |
| Explore More |