
When it comes to makeup, a lot of the rules you will tend to come by are typically directed at those with fairer skin tones—especially true for foundation and concealer. Despite the fact that many brands are beginning to offer a wider shade range, the choices on the market have been pretty limited for those on the medium-deep to the deep end of the spectrum.
A lot of the shade matching tips you’ll hear, such as ‘check your veins’ or ‘match your wrist’ simply don’t apply to darker skin. It’s frustrating—but we hear you. That’s why we’re here to give you the low-down on shade matching for medium to deep skin tones.
Where do I start looking?
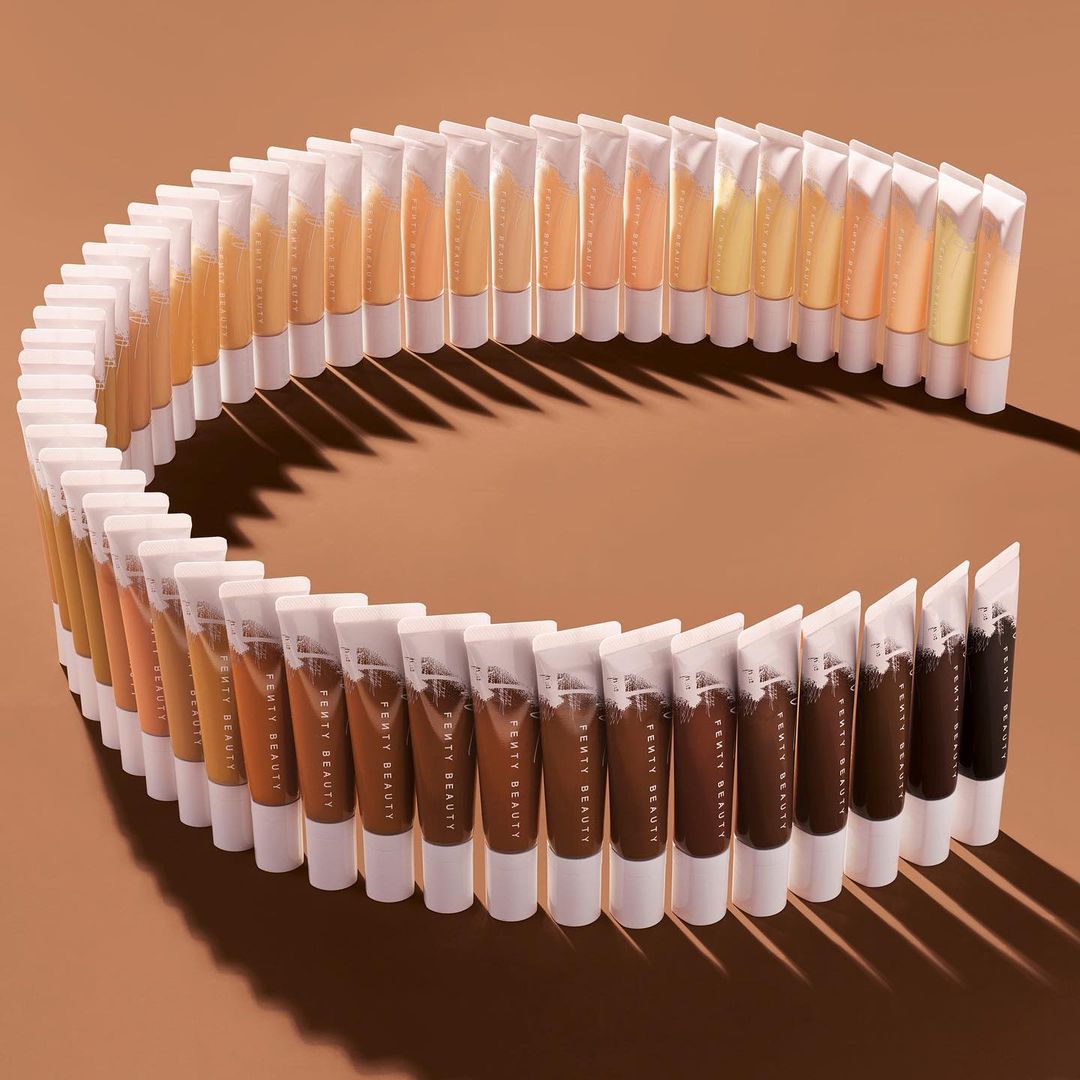
SHOP: Fenty Beauty Pro Filt’r Hydrating Longwear Foundation
Unfortunately, when it comes to inclusivity in beauty, there’s still a ways to go. However, there are brands that are paving the way for inclusive shade ranges and they should be the first place to look.
READ: Malaysia’s women of colour on where (and how) to shop for shade-inclusive makeup
Shade matching step #1: Identify your undertone

This is the single most important thing to watch out for when trying to shade match. It really does matter—is your undertone red, golden, or neutral? Get this wrong and your foundation and concealer will look off no matter what you do. The undertone is what ensures your foundation blends seamlessly from your face to your shoulders and body. Just remember: A bad match will make you look ashy.
The first thing we need to clarify is what constitutes each undertone. Basically, cool undertones show up as red or blue hues in darker skin. If you’re on the fairer side, you may see a pink-ish hue in your skin, which is also an indicator of cool undertones.
Warm undertones, however, show up as golden or yellow hues in the skin. Neutral undertones include green-ish olive hues. This distinction is important to note when looking for your foundations and concealers as most brands only label their products as ‘warm’, ‘neutral’ or ‘cool’.
SHOP: Pat Mcgrath Labs Skin Fetish: Sublime Perfection Foundation

READ: Here’s how to get those ethereal, Pinterest-worthy eyeshadow looks to show up on deep skin tones
There are a few ways to determine your undertone, and none of them include trying to gauge the colour of your veins. The first method is to simply stand in front of a stark white background. It sounds strange, but the contrast between your skin and the white background will make your undertone very apparent. This is especially true if your skin is a very deep shade.
Alternatively, the types of metals that compliment you most are also a great indicator of undertone. People with warmer undertones tend to look best in golds, yellows, and oranges, whereas those with cool undertones suit silver, blues, and reds best.
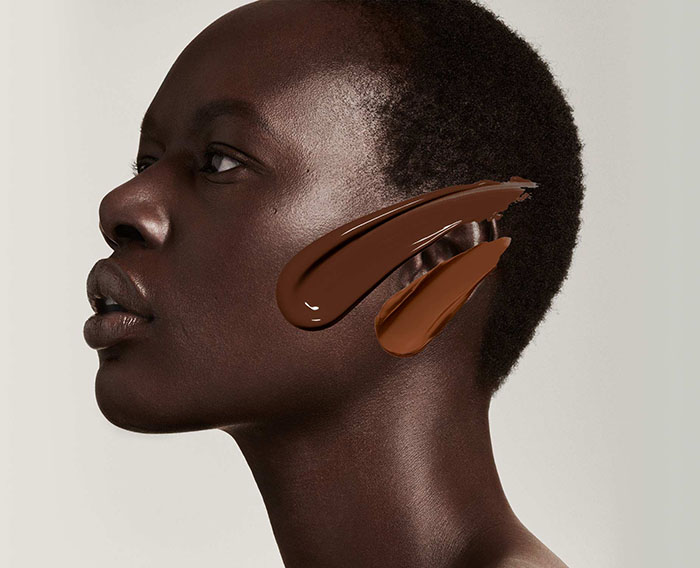
Now, while both are good in their own way, the most reliable method is the three-stripe technique. Find three foundations rough ballpark of your true shade with each of the different undertones. Apply all three to your face at once and you’ll easily see which of the three melts into your skin seamlessly.
Once you’ve successfully determined your shade, you can move on to the next step.
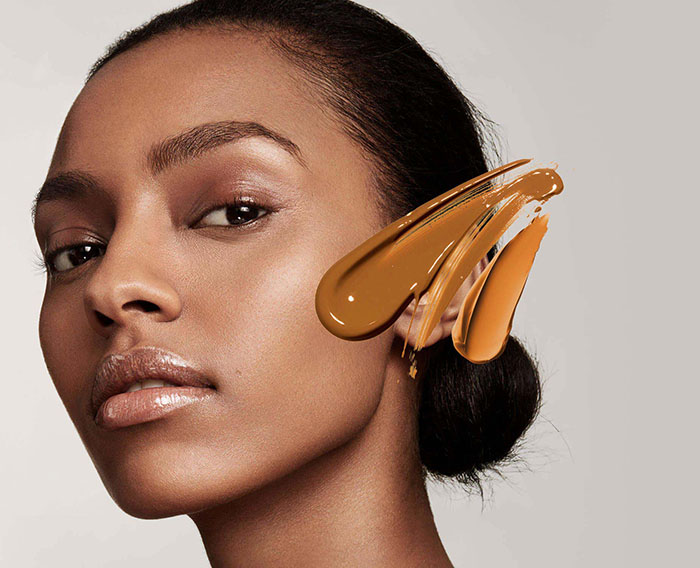
Shade matching step #2: Match your foundation
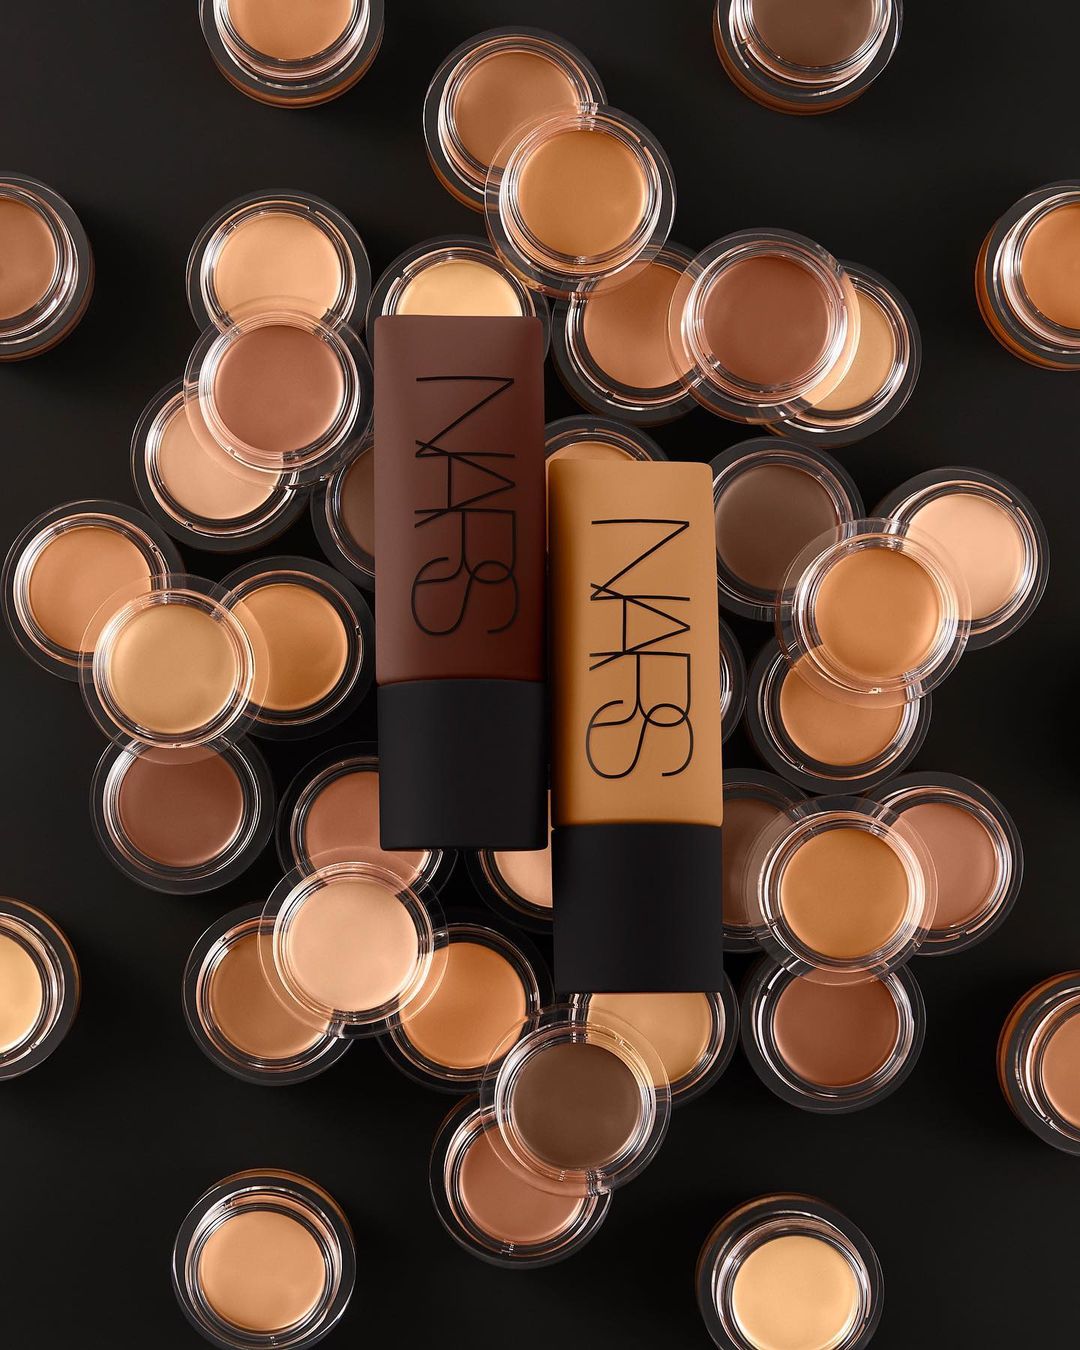
Getting your undertone right is just the first step. Now that you know you’re a warm/cool/neutral girl, you have to make sure that the shade is cohesive with your neck and chest.
At this point, don’t worry if the colour seems a little too light or too dark on different parts of your face. If you’re still struggling to find the right shade for your skin, it’s probably because your skin isn’t one solid colour.
People with deeper skin tones are often privy to hyperpigmentation, which tends to concentrate around the mouth, forehead, and the perimeter of the face. The centre of the face also tends to be lighter. With this in mind, it’s normal to look a little bit one-dimensional if you’re used to a bit more variation in colour across your face.
If your foundation is drastically too dark or light, you may just need to move up or down a few shades. However, if your foundation looks a little dark in certain areas, but doesn’t look stark against the neck and chest, then you’re probably good.
That said, don’t feel as though you have to commit to just one shade—many people are between shades, especially when the darker shade range is limited. If you’re struggling to find the perfect match, try mixing foundations!
Also, don’t forget to watch out for oxidation. It’s best to try out a few samples and wear them for a few hours to gauge if any drastic colour changes happen.
TIP: Investing in a good primer may be just the thing you need to prevent your skin from turning Oompa-Loompa chic. It’s also worth noting that oxides are present in larger concentrations in full-coverage foundations.
If you can’t get your hands on samples (dang you, pandemic), a good way to see how different foundations will look on your skin is to look up tutorials and reviews on YouTube. You’ll never be able to swatch or test out every foundation out there, so an easy solution is to look up a few beauty vloggers with similar skin tones to you, using the products you’re after.
It’s not a perfect solution, but watching reviews is a genuinely great way to gauge how the formulas apply, move under lighting, and sit on the skin. Plus, the added benefit of YouTuber reviews is that they can tell you how it feels, whether it oxidises, and how well it lasts.
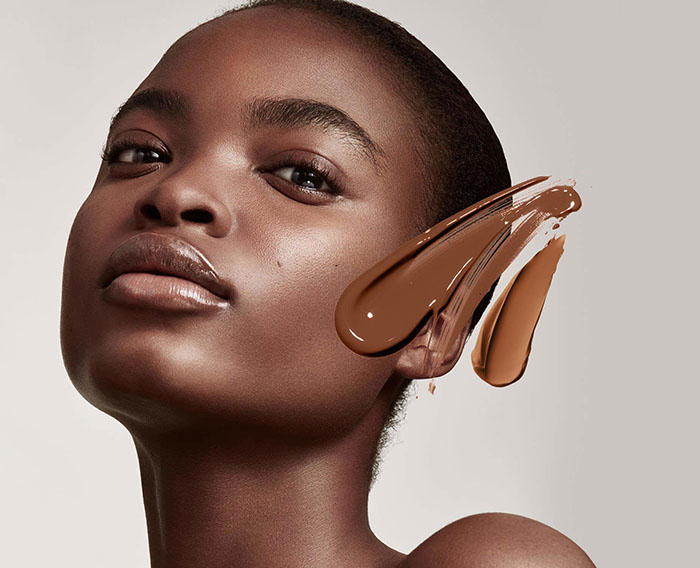
Shade matching step #3: Match your concealer
Remember when we said that your face can look a little one-dimensional after your apply your foundation all over? Well, here’s the part where we correct the flatness.
NOTE: If you’re happy with the base you have that is totally okay (the flat base can be a great starting point for Instagram-type contour). However, if you’re looking for a more natural look—especially if you’re wearing the look in person—this concealer trick is the way to go.
First up, you may need to get yourself more than one concealer. Think about where you’re using it. Under-eye concealer looks best if it is a slightly lighter shade to your foundation—though it should be no more than two shades lighter—to draw the eyes to the centre of the face.
However, if you’re looking to cover blemishes (especially on the perimeter of your face), a lighter concealer is going to do nothing but draw attention to your spots and scars. As a result, you’ll want to make sure it’s a true match.
READ: No-makeup makeup: How to make your concealer look completely natural
For under-eye concealing, try to avoid slathering a thick layer on your eyebags (and cheeks) and be done with it. You need to disperse the lightness evenly across the face: Apply the concealer to the inner corner of the eye, the centre of the nose, the centre of the forehead, and on the chin. This will add a natural highlight and draw the eyes to the centre of the face.
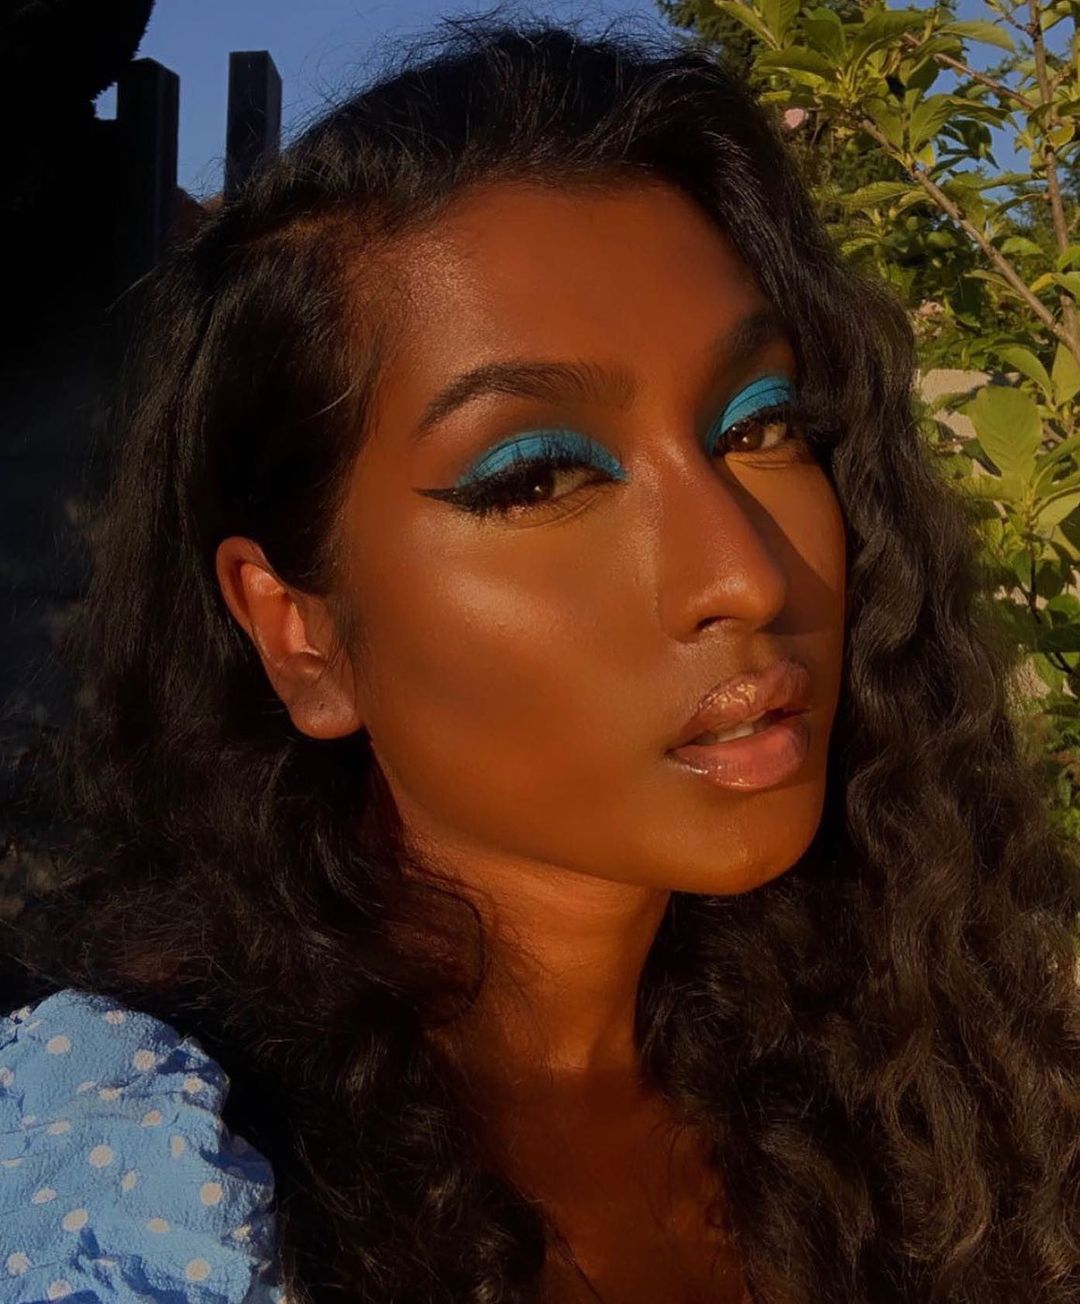
Below: See how Linasha has placed a slightly lighter concealer throughout the centre of her face? Although it is focused on the triangle of her under-eyes, it also covers the centre of the nose and the chin. It creates a beautiful, natural-looking, and wearable contour that doesn’t look too strong.
NOTE: Deeper skin tones don’t really need a contour shade—highlighting with concealer is more than enough to reintroduce dimension to your look. However, if you’re on the lighter side, you could consider a contour (though that’s a topic for another day).
Finally, we want to set all our hard work with some translucent powder. The only advice we have here is to be conservative with the application—applying too much translucent powder over areas that are already dry can look ashy. To avoid this, try finding a tinted translucent powder, and apply little and often.
For more inclusive makeup stories, click here.
| SHARE THE STORY | |
| Explore More |
