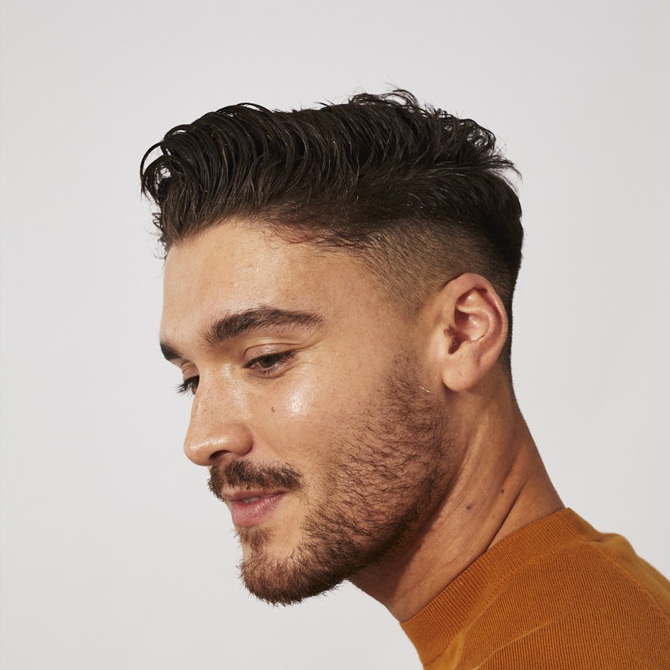

If there’s one thing I can vouch for, it’s DIY haircuts—if you can think of it, I’ve probably done it. I’ve given myself bobs, cut myself a fresh fringe (on IG Live, no less), and I’ve dyed and damaged my hair to the point of near-oblivion. I’ve made a lot of mistakes, I’ve learnt a lot from them and I now consider myself quite the savvy at-home stylist. Basically, there’s not much I haven’t done in the realm of femme-DIY.
However, I have realised that there is actually one area of DIY hairstyling I’ve completely neglected: men’s haircuts. Specifically, men’s DIY haircuts. I doubt I’d particularly suit a ‘Beckham’ myself, but—lucky for you fellas out there—my brother (alias: Z) has recently caught the DIY bug, and he’s got a lot of advice for you on the self-haircut front.
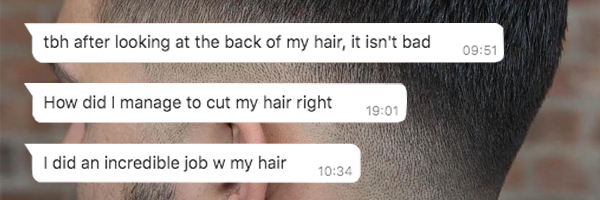
Now, first thing’s first: Are his at-home haircuts good? Well, ish. At the very least, they are getting better! They started off as ‘Friar Tuck, but more Lord Farquaad’ and have evolved to “genuinely wearable in the light of day“. Granted, he has had a lot of time to practise, given the ongoing pandemic.
While he won’t be winning hairstyling awards anytime soon, I’d say his work is good enough to sport outside the house without getting roasted by passers-by (not that he’ll be doing that—because, pandemic). For those of you who are interested, we’ve rounded up some solid tips for all you men out there who can’t quite muster the courage to head to the salon in the ‘rona times.
5 Tips before you make the cut

TIP #1: Get a good set of clippers and some guards

You’ll definitely want options here—a standard ‘short back and sides’ men’s haircut is all about getting the blend just right. So, get yourself hair clippers with a wide array of guards. This should be easy to do as most hair clippers will come with guards attached.
TRY: BaBylissMEN Japanese Steel Digital Hair Clipper
When you’re just starting out, Z suggests that you look for longer guards (somewhere between 12mm and 25mm, or a ‘4’ and an ‘8’) as they will give you a more forgiving cut. If you don’t have long clipper guards, try using “the longest extension you have and substitute a large comb as your guard”. However, he warns that you must “stay stable, otherwise you’ll have a really uneven haircut.” It’s safe to say you should probably get yourself some clipper guards if you’re going to try this.
“If you’re like me a year ago and you think an unguarded clipper over the back and sides of your head makes for a haircut, you’re in for a rough ride. I hope you like looking like a shiitake mushroom.” – Z, 2021
TIP #2: Get some sharp scissors
We’ve actually already covered the best scissors to use when it comes to DIY haircuts here, but here’s the TL;DR version: Although hair cutting scissors are ideal, sharp kitchen or sewing scissors will work just fine in a pinch.
These will come in handy when it’s time to trim the mop on the top of your head. It will give you a lot more control on your lengths than a clipper would, and these are generally easier to use.
READ: I cut my own hair with the help of hairstylist and this is what happened
TIP #3: Look for video references to get as many pointers as possible
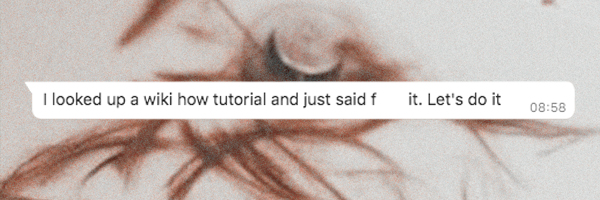
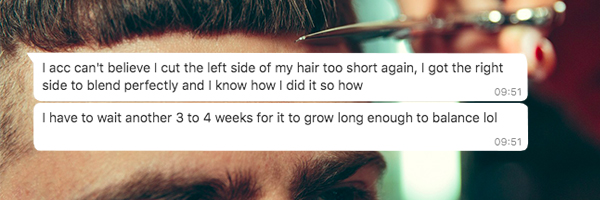
In his words: “Look up how everyone else does it otherwise it’s going to take four tries to get it right (over the course of two months),” and believe me when I say he’s definitely speaking from personal experience. Prior to his first haircut (which was the worst of all his attempts so far), he skimmed one WikiHow guide and thought: “Yeah, I’m going to nail this”. I can confirm: He did not.
To avoid his unfortunate blunders, you’ll want to scope out as many YouTube tutorials as you can find (we’ve linked our favourite down below). Not only will this help you to get a feel for what to expect as soon as the clippers break ground, it’s also just easier to visualise what you need to do with a step-by-step walk-through.
TIP #4: Cut your hair when it is dry
If you cut your hair wet, it’ll shrink when it dries and you’ll probably be left with a much shorter cut than you intended. Plus, it’s also harder to get the shape of your hair right while cutting if it’s bone-dry. Not to mention: Clippers and wet hair do not make a happy combination.
TIP #5: Use all the mirrors
Let’s face it—you’re never going to get a good cut if you can’t see what you’re doing. We recommend you stand in front of your bathroom mirror and get a second mirror (hand-held or mounted will do) to help you see the back of your hair.
The tried-and-tested method, courtesy of the bro:
- Section off the top of your hairTIP: A good marker for the ‘edge’ of your top is the outer corner of your eye. Just draw an imaginary line from your outer eye corner vertically up to your hairline, follow it along the crown of your head until your fingers meet and you’ll have your section
- Cut the sides and back down to your preferenceTIP: Use the longest guard you have to start with, and clip off all the extra hair up to where you’ve sectioned off. Once you hit the edge of the section, make sure to curve your hand away from your head to produce a gradient.
- Repeat the process around the back and sides, using progressively shorter clipper extensions each time and moving the imaginary line down your head as the guards get shorterThis is what gives you a fade. It will also take a lot of practice to get it right, especially on shorter guards. Hence, we take baby steps and start long.TIP: Have someone help with the back. “Just because I had no one doesn’t mean you have to suffer.”
- From the front of your hair, take a horizontal section off the top in your hand, pull it back until your fingers hit your desired length, and cutTIP: Make smaller cuts first—you can always cut more hair off, but you cannot just grow it back.
- Repeat this process with small, horizontal sections that start further back along your skullTIP: Take the same amount of hair off each section as you move back. Z says that by doing this, you’ll “ensure that you’re keeping the length of your hair even across your head, and you’ll naturally form layers”.
- Get your sideburns nice and neat; don’t forget to clean up around your earsTIP: Take your time here—no one likes wonky sideburns.
- “If it all goes wrong, just accept that this is what you look like now.”TIP: Z says: “Make sure you’re in quarantine so nobody can see you cry. Alternatively: Shave it all off.”
How to actually cut your hair yourself:
Psst—while brother bear’s wordy advice above is a true amateur’s tried-and-tested method, we’ve left this useful tutorial here for you to reference just in case.
For more DIY antics, click here. Check out more men’s grooming stories here.
| SHARE THE STORY | |
| Explore More |


)