

In case you missed it, I gave myself a fringe on BURO. Hangouts: Live last Thursday. I know—it sounds like a bad idea right off the bat, but surprisingly, it’s only the third stupidest thing I’ve ever done. Yep—this isn’t my first rodeo with an at-home haircut. In fact, I’m pretty accustomed to a DIY cut and colour, though I’ll admit the results vary greatly. Not to mention, this is also an activity I tend to reserve for the wee hours of the morning, when I am less-than-lucid and my judgement is cloudy (otherwise, it wouldn’t happen).
So, although I’m generally adept with a pair of scissors (apart from the occasional mishap), I was curious to see what my technique was missing. Cue in: Professional stylist Juno Ko, a talented man when armed with shears and a great instructor, who guided me through the whole process with the help of his trusty mannequin, Anna Wintour (no relation).
Watch it here:
Even if you’re not following along the tutorial yourself, it’s at least entertaining to watch me second guess myself for 30 minutes straight.
Step By Step:
If you need it in writing, we’ve done a complete guide on how to cut your own fringe properly before, and it covers all the steps that Juno takes me through in detail. However, there are a few things I missed, so here are 10 extra nuggets of hair wisdom that Juno imparted on me during our session.
10 Tips for an at-home haircut from a professional stylist:
- Cutting your own bangs is fine, but don’t you dare give yourself a full haircut
- A fringe will suit you best if you have an oval, square or round face
- Wet your hair to minimise mess and make cutting easier
- When you’re making the cut, remember to take your time and go in small sections (do not get scissor happy)
- Always go back in and point cut your fringe (and your layers) to feather them out and add texture
- Check that everything is even and symmetrical as you go along—be meticulous, lest you end up with a case of wonky fringe
- Make quick work of styling your bangs with nothing more than your fingers and a hairdryer—ruffling through your fringe as you go creates texture (Alternatively: do what I did and get a hairdryer that doubles as a round brush)
- Trim your bangs every two weeks to maintain the length, observing the same techniques as shown in the video
- To grow out your bangs (once you eventually regret cutting them): Sleep well, eat well and use lots of hair tonic
- Why are you even doing this yourself? Just go to a professional.
The big reveal:
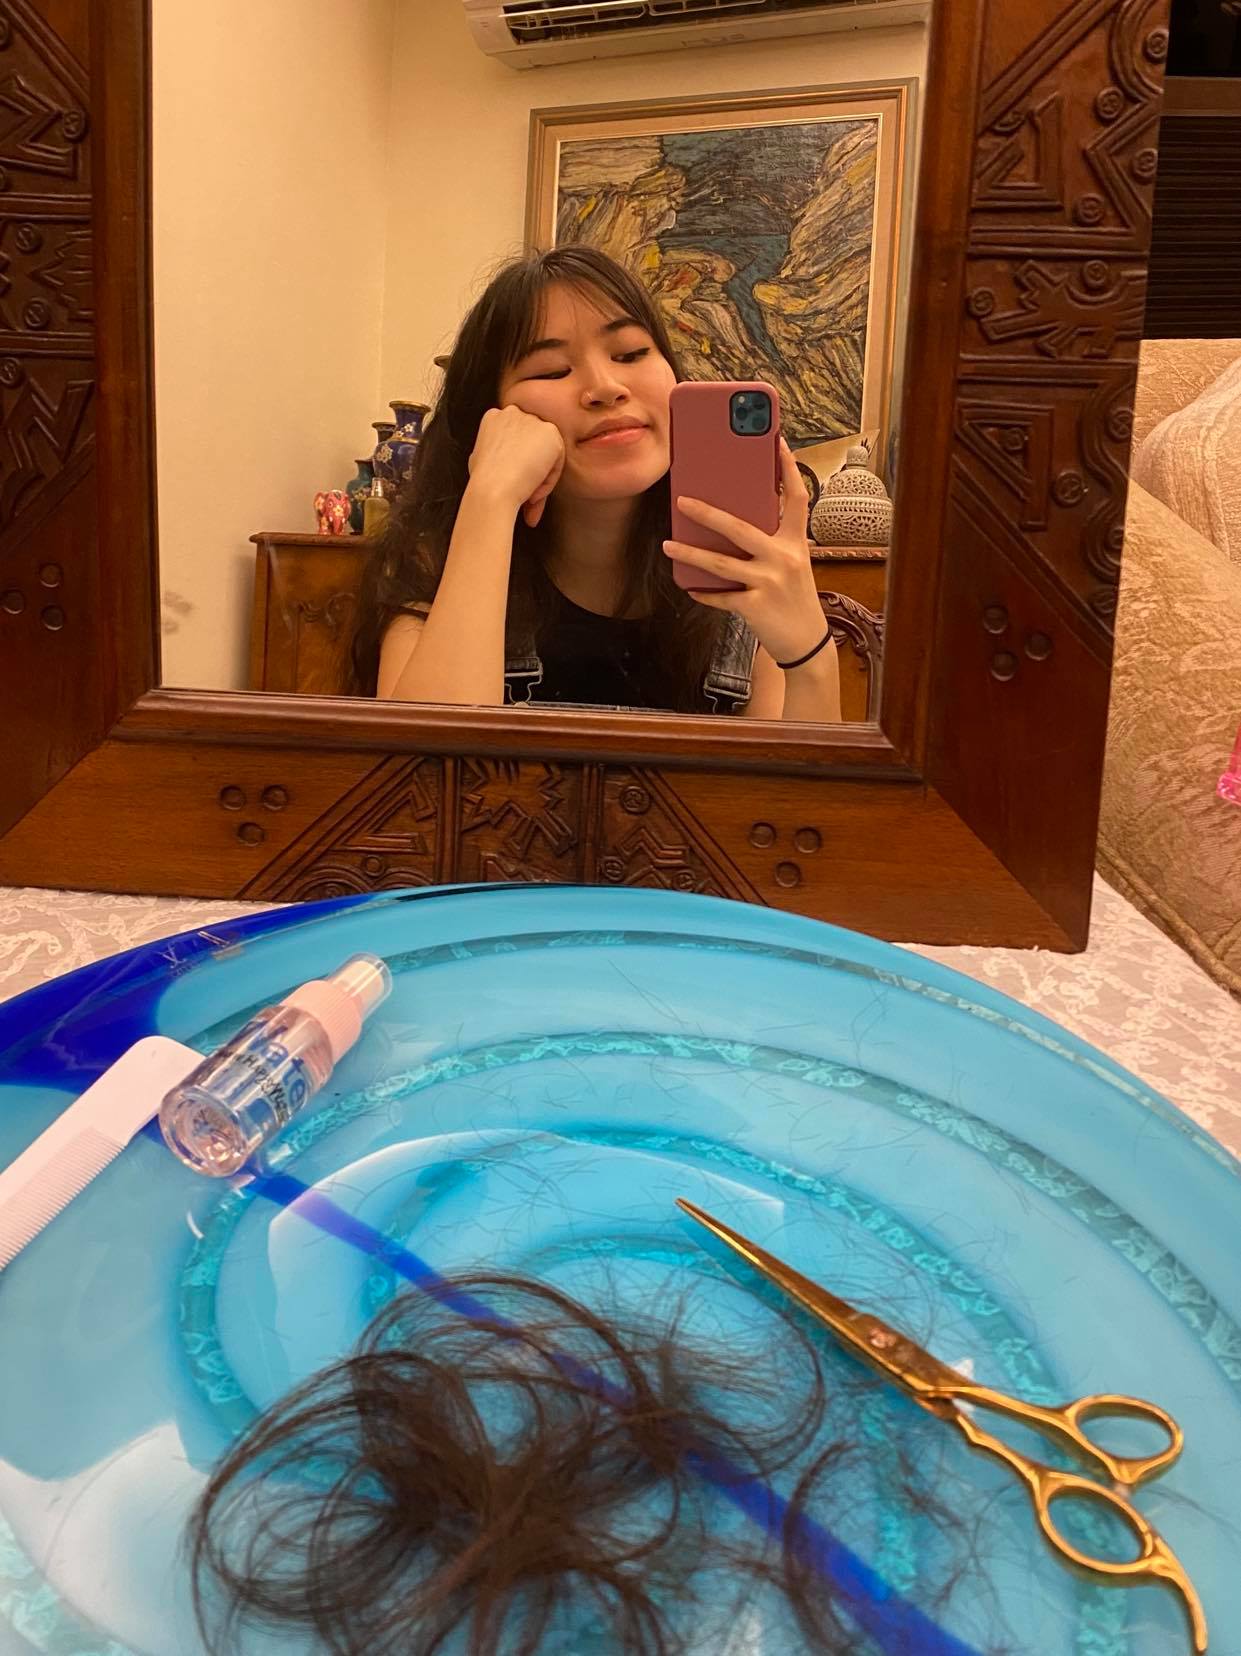
As you can (hopefully) see, we went for some lovely tapered, eyebrow-length curtain bangs, with face-framing pieces. I’ll say it—I think that overall, they turned out pretty well. They’re nice and versatile, so depending on how I style them they can be worn to the side, parted or straight down. The hair falls at a nice length, where my vision isn’t impaired but my unruly brows are, and the face framing pieces along the side add a nice blend between bangs-to-length.
Overall, I’m thankful that I had Juno there to double check my work as we went along and guide me towards the fringe I was actually going for. My impatience and haphazardness are usually the reason things usually go wrong with my DIY haircuts (the philosophy is that hair grows and everything’s fine); so, having someone to remind me that I need to work in sections and take my time rather than go straight from 0 to 100 probably saved me from a month (or so) of bad hair days.
All in all, a DIY haircut is daunting, but also definitely achievable… as long as you follow these simple rules to a T. What do you think—will you be attempting a DIY fringe anytime soon?
| SHARE THE STORY | |
| Explore More |


