

It’s no secret—getting the voluminous, bouncy curls of a good blowout just right is no easy task, and the traditional method of using a blowdryer and round brush is definitely not for the faint-hearted (or scrawny-armed).
Fortunately, at-home hairstyling has come a long way, and there are now easier ways to achieve the look of a blowout than there used to be. Ahead, we’re delving into three different ways to get an at-home blowout, as well as everything you’ll need to succeed:
STEP 1: PREP AND DETANGLE IN THE SHOWER
A good blowout starts with a good base, so make sure you’re prepping your hair well in the shower. Step one is to double shampoo your hair—this will help you to deep-clean your scalp, providing a clean base for your styling products. Step two is to condition well in order to give your hair that sleek, shiny finish.
While conditioning, do also make sure to detangle your hair (gently!) with a wide-toothed comb. The conditioner acts as a lubricant to help prevent unnecessary breakage and damage to your hair when combing. Detangling will make it easier for you to section your hair once you’re ready to start your blowout.
STEP 2: HEAT PROTECTANT
If you’d like to avoid a frizzy blowout and permanent long-term damage to your tresses, heat protectant is an absolute must. Since every part of your hair will be treated with heat for this styling run, you’ll want to make sure you’re spritzing on an even layer throughout your entire head of hair.
READ: The best heat protectants for healthy, unsinged hair of every type
STEP 3: TEXTURISING SPRAY
A texturising spray is your best friend when it comes to maximising those big, bouncy curls—just spray it through your damp hair before moving onto styling.
READ: The best texturising sprays you need for easy styling
STEP 4: BLOW BIG OR GO HOME
The beginner way
If you’re a little too uncoordinated for the traditional round brush and blow dry method, we’ve got a simple solution for you—hair rollers. There are two ways you can do this: either with hot rollers or velcro rollers, and we’re here to walk you through both methods.
Hot rollers:
What you’ll need:
- Hot rollers (preferable ones with varying barrel sizes)
- Sectioning clips
Step 1: Pre-heat your hot rollers.
Step 2: Start with damp or dry (and detangled) hair, and part your hair into three sections horizontally.
Step 3: Start with the bottom section, rolling sections upwards with the smallest roller size.
Step 4: Move on to the middle section of your hair, rolling sections downwards with a bigger roller size.
Step 5: Roll the top section of your hair upwards with the biggest roller size, leaving your fringe for last.
Step 6: For curtain bangs, place the roller on top of the bangs and roll upwards to create volume. For normal straight fringes, style as usual.
Step 7: Leave your hair to cool completely, then remove the rollers and tousle until the desired volume has been reached.
Velcro rollers:
What you’ll need:
- A curling iron
- Velcro rollers (jumbo for long hair, medium for mid-length hair, small for short hair)
- Hair pins
- Sectioning clips
Step 1: Pre-heat your curling iron.
Step 2: Start with dry and detangled hair.
Step 3: Part your hair into two sections, and start with the top section.
Step 4: Take two-inch sections at a time, curling each section with your curling iron until it is heated through, then roll each section around your roller. Pin in place.
Step 5: Once all sections are completed, allow your hair to cool completely.
Step 6: Remove your hair from the rollers and tousle until it has reached your desired volume.
TIP: Alternating the direction in which you’re rolling your curls creates dimension, volume and texture within your hair.
The intermediate way
If, like the rest of the internet, you’re already an avid fan of the Dyson AirWrap, you’re in luck! The versatile styling tool can, in fact, give you the at-home blowout of your dreams. Here’s the how-to:
What you’ll need:
- Dyson Airwrap
- Velcro rollers (optional)
The advanced way
For those feeling particularly confident in their hairstyling skills, here’s the advanced breakdown using just a hairdryer and round brush.
SHOP HAIRDRYERS:
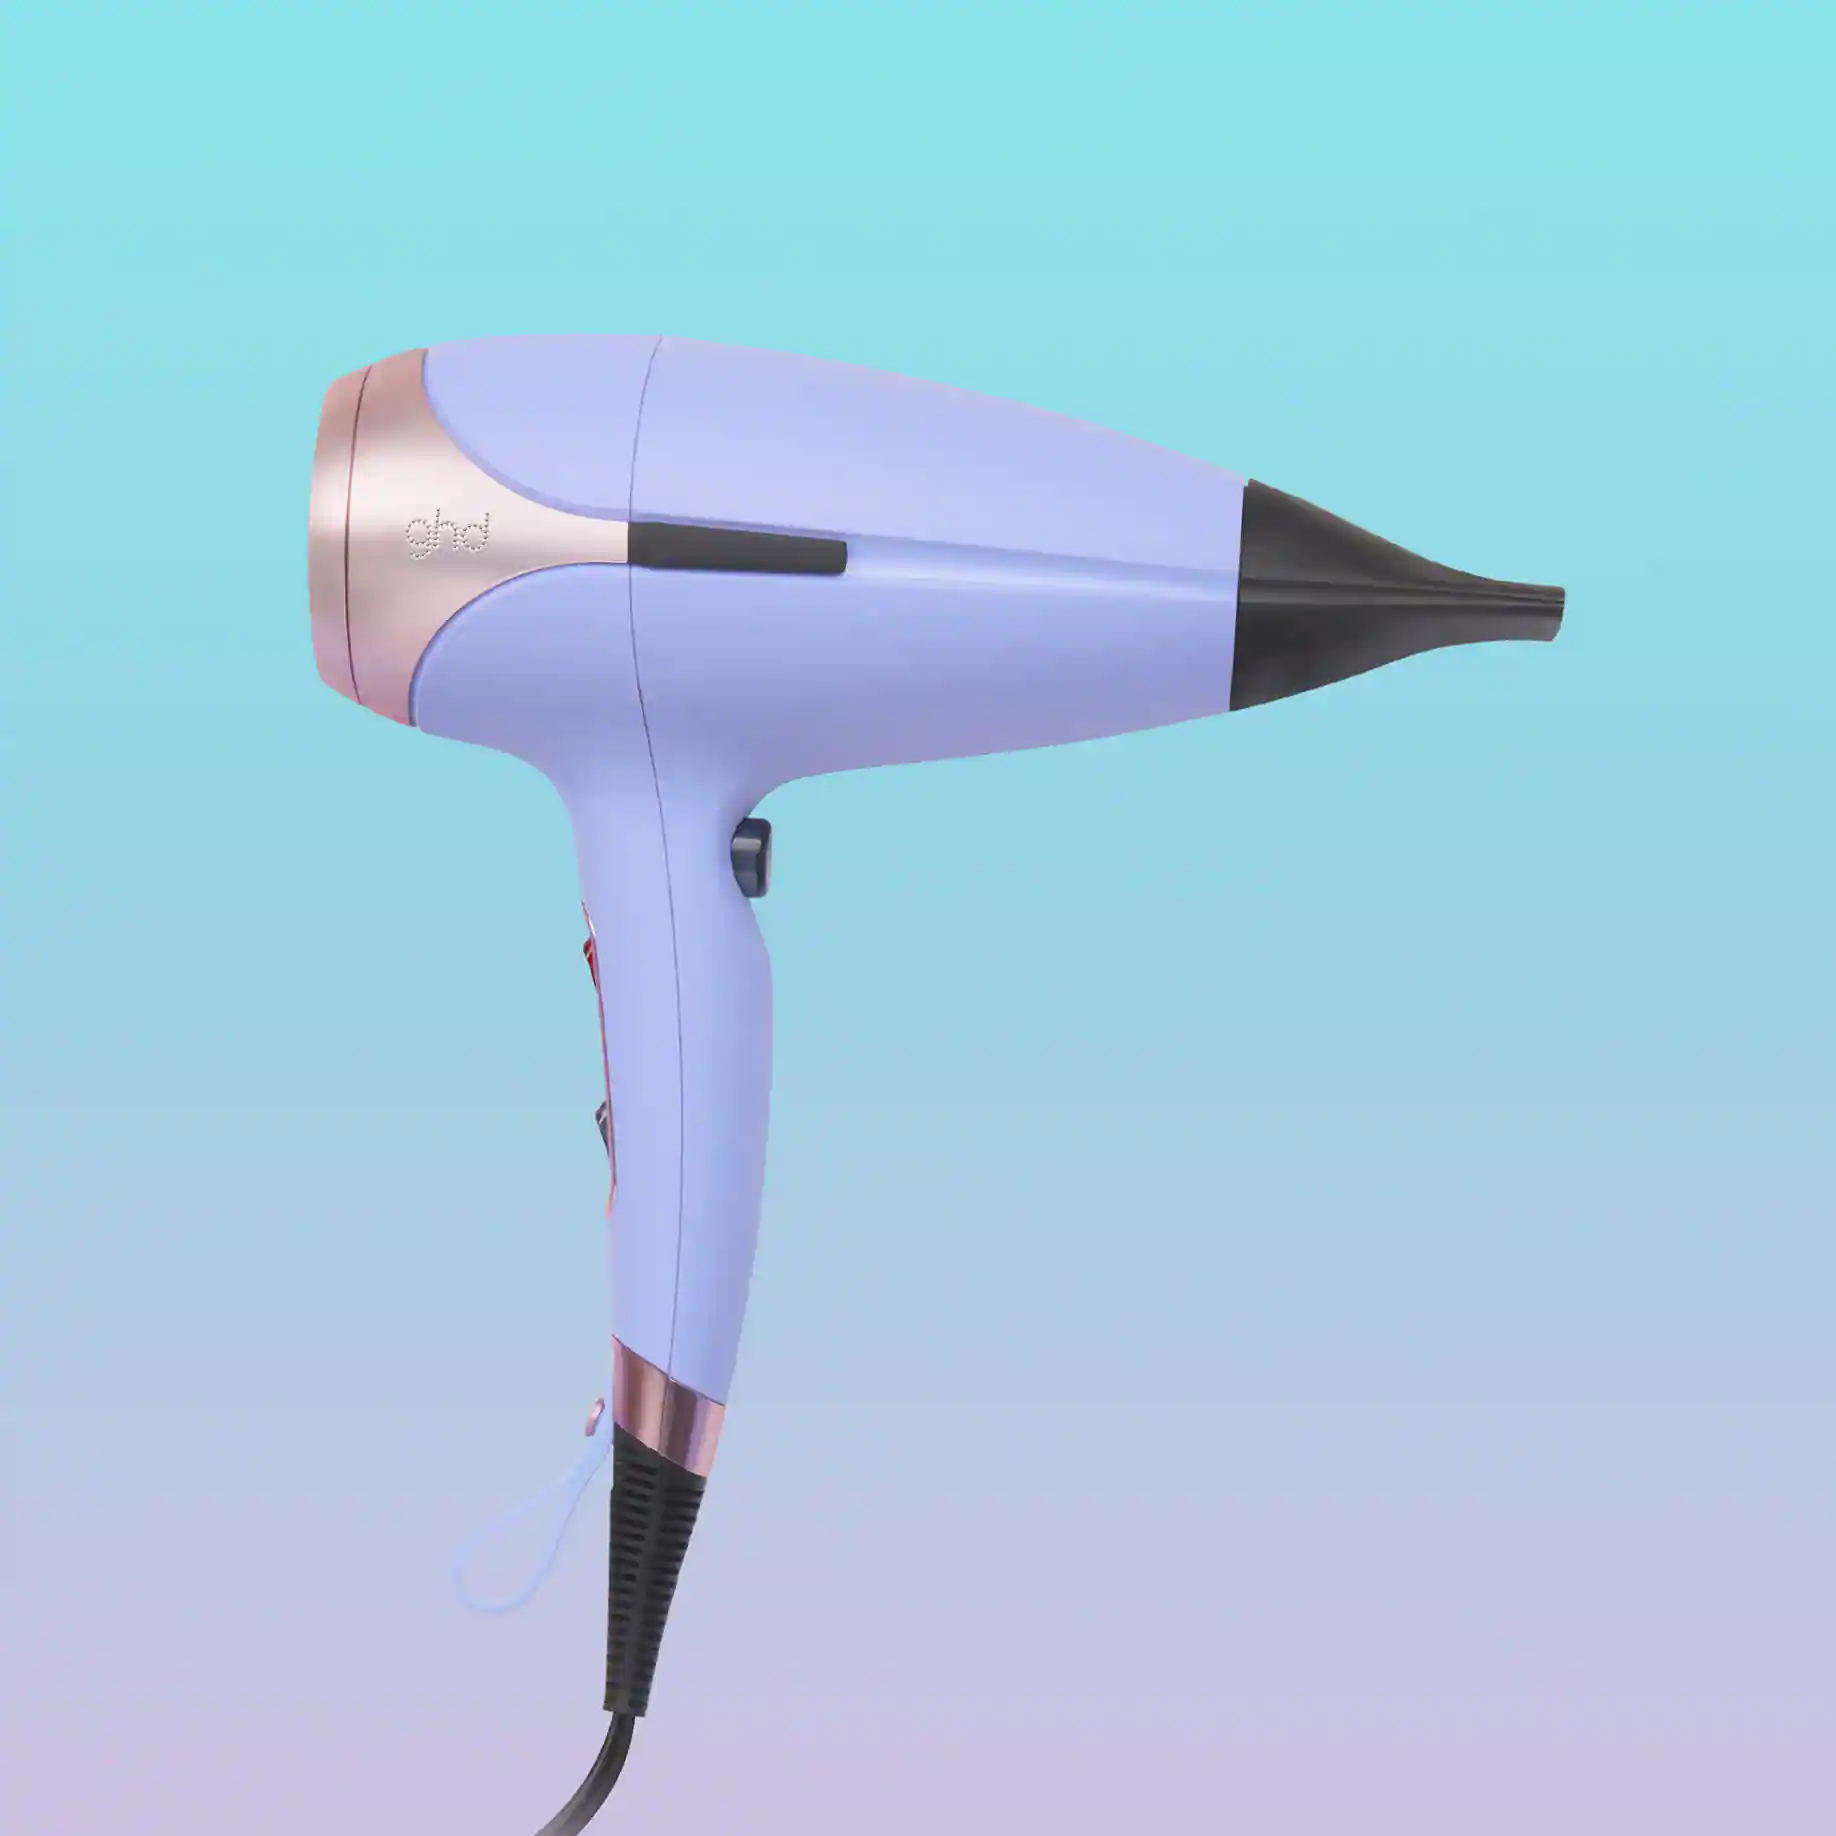
GHD Helios Professional Hair Dryer, RM1,035
The cult-favourite GHD Helios Hair Dryer needs no introduction. A firm favourite with professionals and beauty enthusiasts worldwide, it now comes in a new, limited-edition summery lilac colourway.
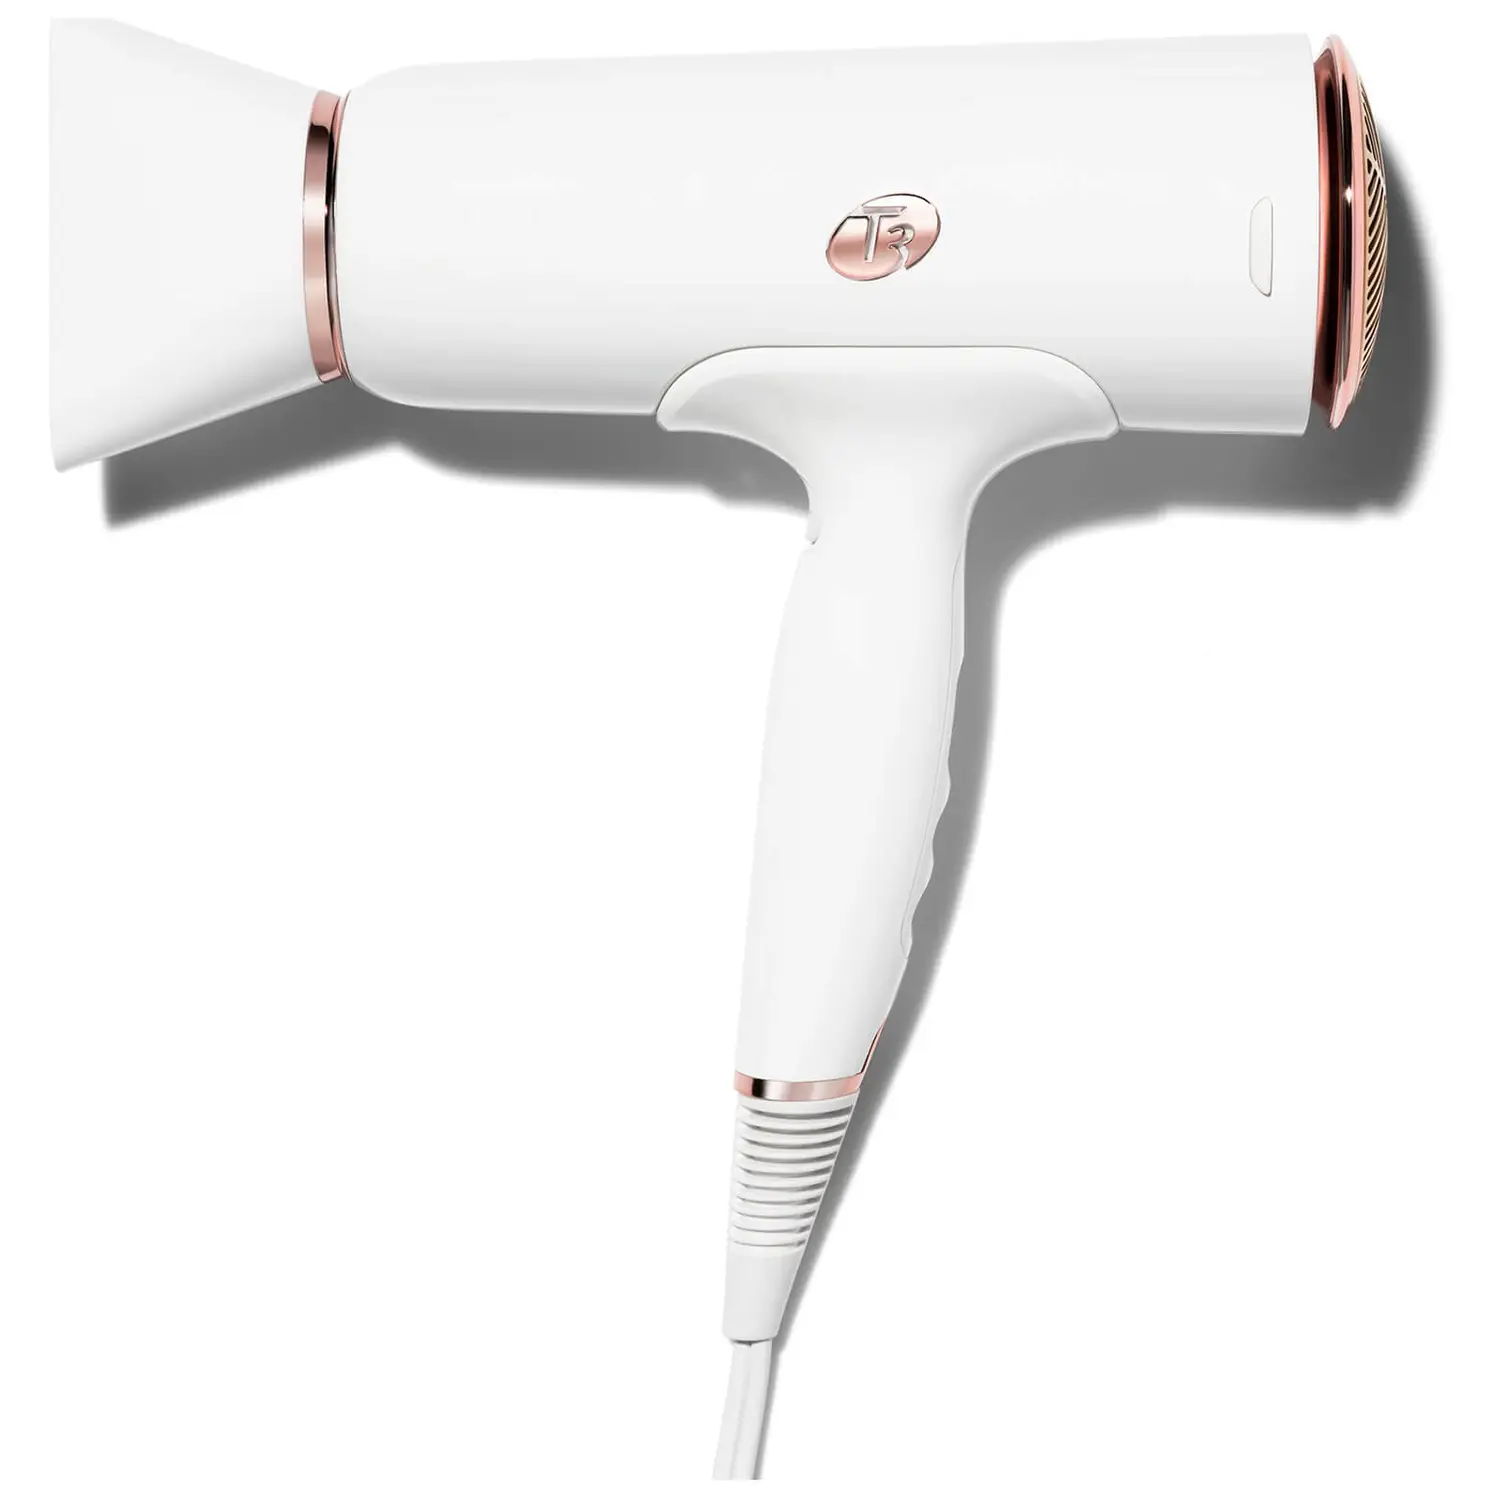
T3 Cura Hair Dryer in White, RM1,065
The T3 Cura Hair Dryer has been built with a powerful ion generator that produces cuticle-smoothing negative ions for stunning, frizz-free results.
READ: The definitive guide to every girl’s must-have hair tools
STEP 5: FINISH UP
To hold your blowout all day long, don’t forget to douse your tresses in a generous amount of hairspray!
SHOP HAIRSPRAY:
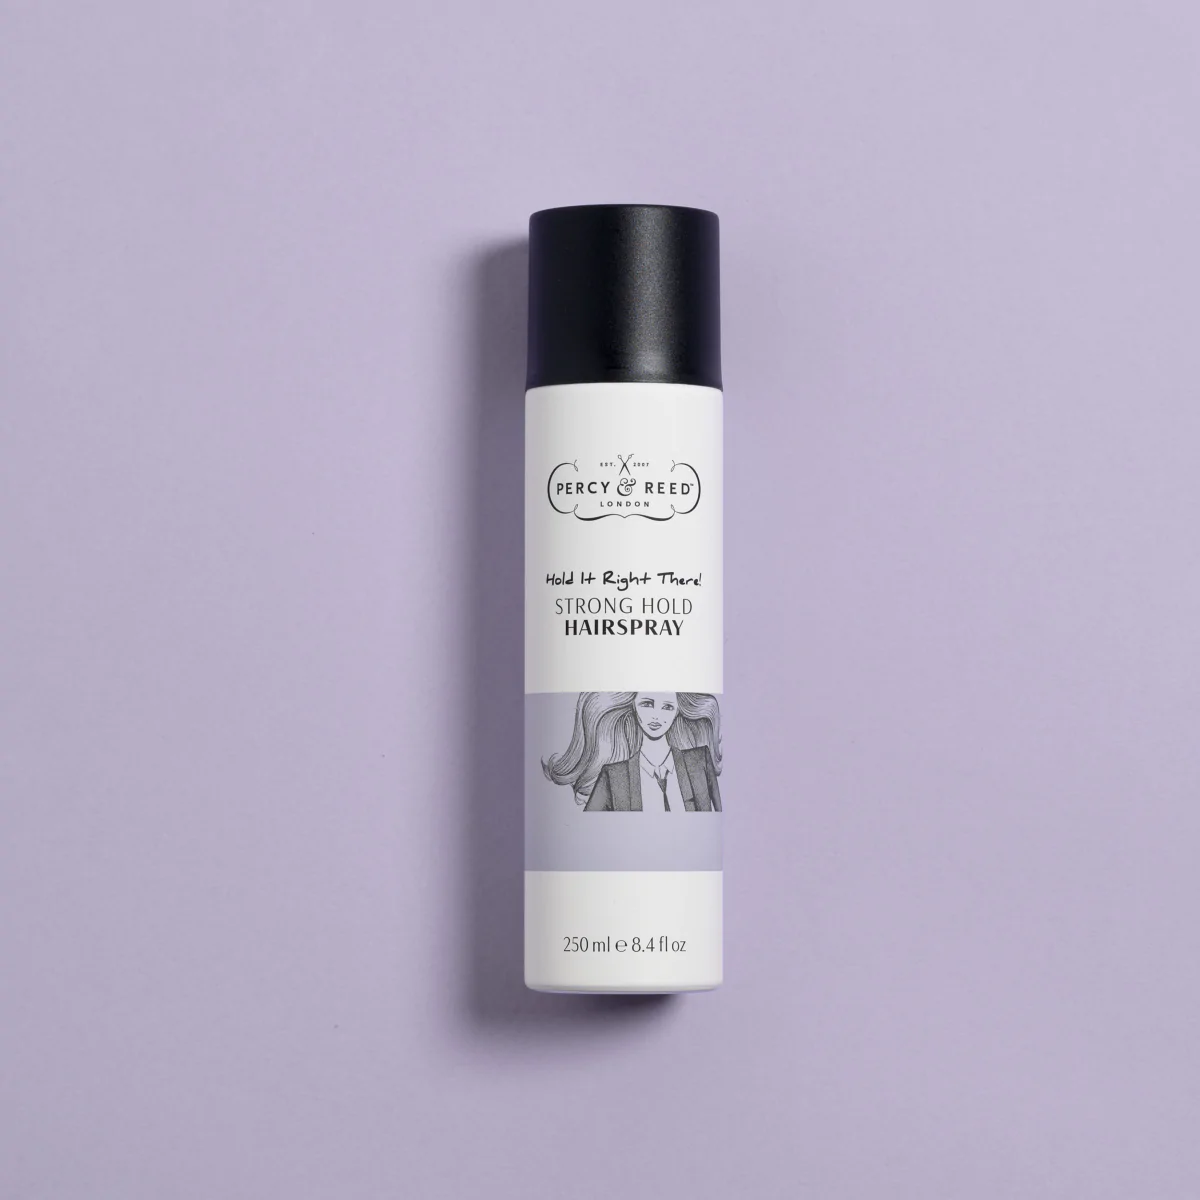
Percy and Reed Hold It Right There! Strong Hold Hairspray, RM85
This firm-but-flexible hairspray is everything you’ll need to keep your bouncy blowout intact under our Malaysian humidity, thanks to the inbuilt humidity protection in its formulation.

Ouai Texturizing Hair Spray, RM131
Lightweight and volumising, this hairspray absorbs excess oil with volcanic minerals to preserve volume while holding your hair in place.
OPTIONAL: MAKE IT LAST
Want to make your blowout last a few extra days? Dry shampoo is your new best friend.
READ: The best dry shampoos you can get in Malaysia
There you have it: Your step-by-step guide to everything you’ll need for the perfect at-home blowout. Good luck and good (hair) day to all!
Find more hair guides like this here.
| SHARE THE STORY | |
| Explore More |


