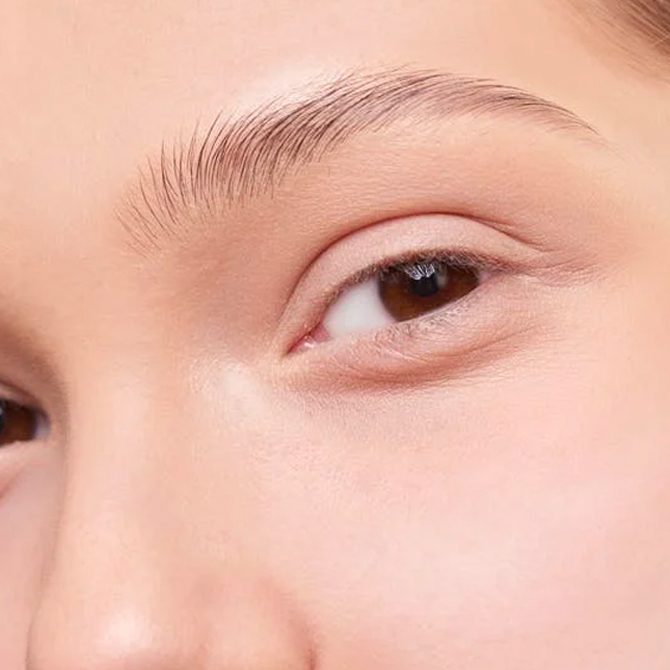
It’s day X since you’ve last visited your brow specialist and your almost-unibrow is practically an uncontrollable mess. You’ve tried self-waxing methods and attempted plucking a couple of errant strays but only to give up after a few teary half-sessions—let’s face it: tweezing your eyebrows is practically an impossible task if you’re doing it with blurred vision (no thanks to glassy eyes). This close to giving up, you’re toying with the idea of booking an appointment after CMCO—but feeling kind of iffy what with the daily spike in COVID-19 cases.
Before you make the call, we suggest giving the self-grooming session one last go—but with the help of these handy tips instead. With Christmas right round the corner, your brow gal may not even be taking last-minute appointments at this point. But you can make the most out of the time you’ve got, just with a couple of tools you may have lying around.
For everything else you curious to learn about your eyebrows, our timeless brow guide has covered everything on your list, from eyebrow studios in KL and PJ to how to pencil in your brows without looking like a ’90s mess.
Ahead, a beginner’s guide to tweezing your brow hairs from home, and ways to reduce the pain that comes with.
Disclaimer: While we can’t guarantee a pain-free experience, these tips are worth a try if you aren’t willing to wait till 2021 for perfectly-groomed brows.
Step 1: Prepare your brows
Prepping your brows ahead of time can help with alleviating the pain. We recommend tweezing them after a shower, so that your pores are open and that your brows are clean before grooming.
TIP: Groom your brows under natural lighting for the best experience, preferably from the front. Alternatively, use warm white lighting (LED) instead e.g. vanity mirror lighting.
View this post on Instagram
Step 2: Tools at the ready
Trust us when we say that an efficient tweezer makes all the difference in the world. Look out for a tweezer that’s slant-tipped for precise brow shaping, such as Tweezerman’s Slant Tweezer.
An unpleasant brow grooming experience can result from using blunt tweezers, especially those that can’t close evenly or firmly enough to pull out each hair. Also, a subpar pair of tweezers can result in hair breakage instead of a clean hair removal from the follicle, which could cause ingrown hairs.
As for other tools such as razors or blades, Benefit Cosmetics National Brow Artist Shanice Yong recommends leaving them out of your routine for now. “It’s really dangerous especially if you are not familiar with the technique of shaving your brows. Also, this can cause ingrown hair and half of your brows to disappear (if you aren’t doing it right).”
TIP: Use a regular mirror instead of a magnifying mirror, as you can’t take in the entirety of your brow shape if you’re zooming in on specific parts of your brows while tweezing.
View this post on Instagram
Step 3: Find the perfect shape
The last thing you’d want to score is a set of triangular-shaped brows or passé arches that don’t flatter your face shape. Before going in with your tweezers, start with a brow mapping technique to find your perfect brow shape.
First, use a brow pencil and measure it from the dimple of your nose, vertically up to where the pencil touches the start of your brows. “That is your starting point. This creates a slimming effect for the nose—the closer the brows are, the narrower the nose is going to look,” says Benefit Cosmetics Global Brow Expert Jared Bailey.
Then, find your arch by pointing the pencil diagonally—from the outer portion of your nose, cross the centre of the eyelids, and end in the middle of your brows. Here is where your brow arch extends the highest.
Lastly, extend the pencil further from the outer corner of your nose to the end of your eyebrows. “The ending point of the brows is important because that’s going to block out the proportions of your face. And if you have a rounder face, finding that wider end can slim your face down; whereas if you have a longer face, it will give your face a oval, softer illusion,” says Bailey.
Step 4: Start tweezing (carefully)
You can now begin plucking small, stray hairs that are growing out of your natural brow frame. Do it slowly and from the root of each strand instead of gripping the ends, with no more than two brow hairs at a time.
TIP: “Make sure to take a step back from the mirror every now and then to ensure you don’t overpluck your brows,” says Yong.
Gently hold the skin firm with your other hand as your pluck your brow hairs to make it easier to remove them—this prevents you from pulling at the hairs, which is the main cause of the pain and tears. While you are at it, pluck the hairs according to your natural hair growth instead of against it.
Step 5: Calm your skin down
We feel you—the pain takes some getting used to, especially if you have ultra-sensitive skin. If you’re tempted to pause every 15 minutes in between each tweeze, you’re not doing yourself a favour as the pain doesn’t really dwindle with time. Our advice? Go full steam ahead and finish plucking your fine hairs without any pauses, but commit the above-mentioned tips to memory.
Ice the area down after tweezing to numb the pain, or if you prefer, apply a soothing gel moisturiser or toner (sans alcohol) to prevent redness.
View this post on Instagram
For that extra polished look to your fresh pair of self-groomed eyebrows, fill in with the right product (more here) and give it a brush over with a spoolie—you’re now ready to take on the world (and the rest of the CMCO) with confidence.
Good luck!
For more beauty tips, click here.
| SHARE THE STORY | |
| Explore More |


