

If you’re tired of cutting off circulation to your fingers every time you floss or you’re just looking for an easier, no-strings-attached approach to your flossing routine, we’ve got just the thing.
Introducing: The humble water flosser. Also known as an oral irrigator, it’s essentially a device that projects a high-pressure jet of water to remove food and plaque from between your teeth. It’s definitely a more eco-friendly alternative to traditional floss, but is it as or more effective? Ahead, I investigate…
Zenyum kindly gifted me a comprehensive oral care kit, including the brand’s new Sonic Go Electric Toothbrush, their Fresh Day and Fresh Night Toothpastes and, of course, the new Waterflosser Pro.
My current oral care routine:
I usually start off my morning with a thorough brush, using the ZenyumSonic Go Electric Toothbrush and some of the Fresh Day Toothpaste. Personally, I’m a huge fan of the toothbrush—it has three-speed modes and a two-minute timer to prevent overbrushing without compromising on effectiveness. Plus, it beeps to let me know when to move on from one section of my teeth to the next, so I know exactly when my teeth are thoroughly cleaned. Honestly, exempting a professional cleaning, my teeth have never felt more immaculate. Essentially, the brush does all the hard work for me, allowing me to zone out for my morning ritual.
The Fresh Day Toothpaste is also quite the treat, having been specifically created to protect the tooth’s enamel throughout the day while brightening my smile with papaya enzyme. Plus, its subtle Field Mint flavour freshens up my morning breath nicely.
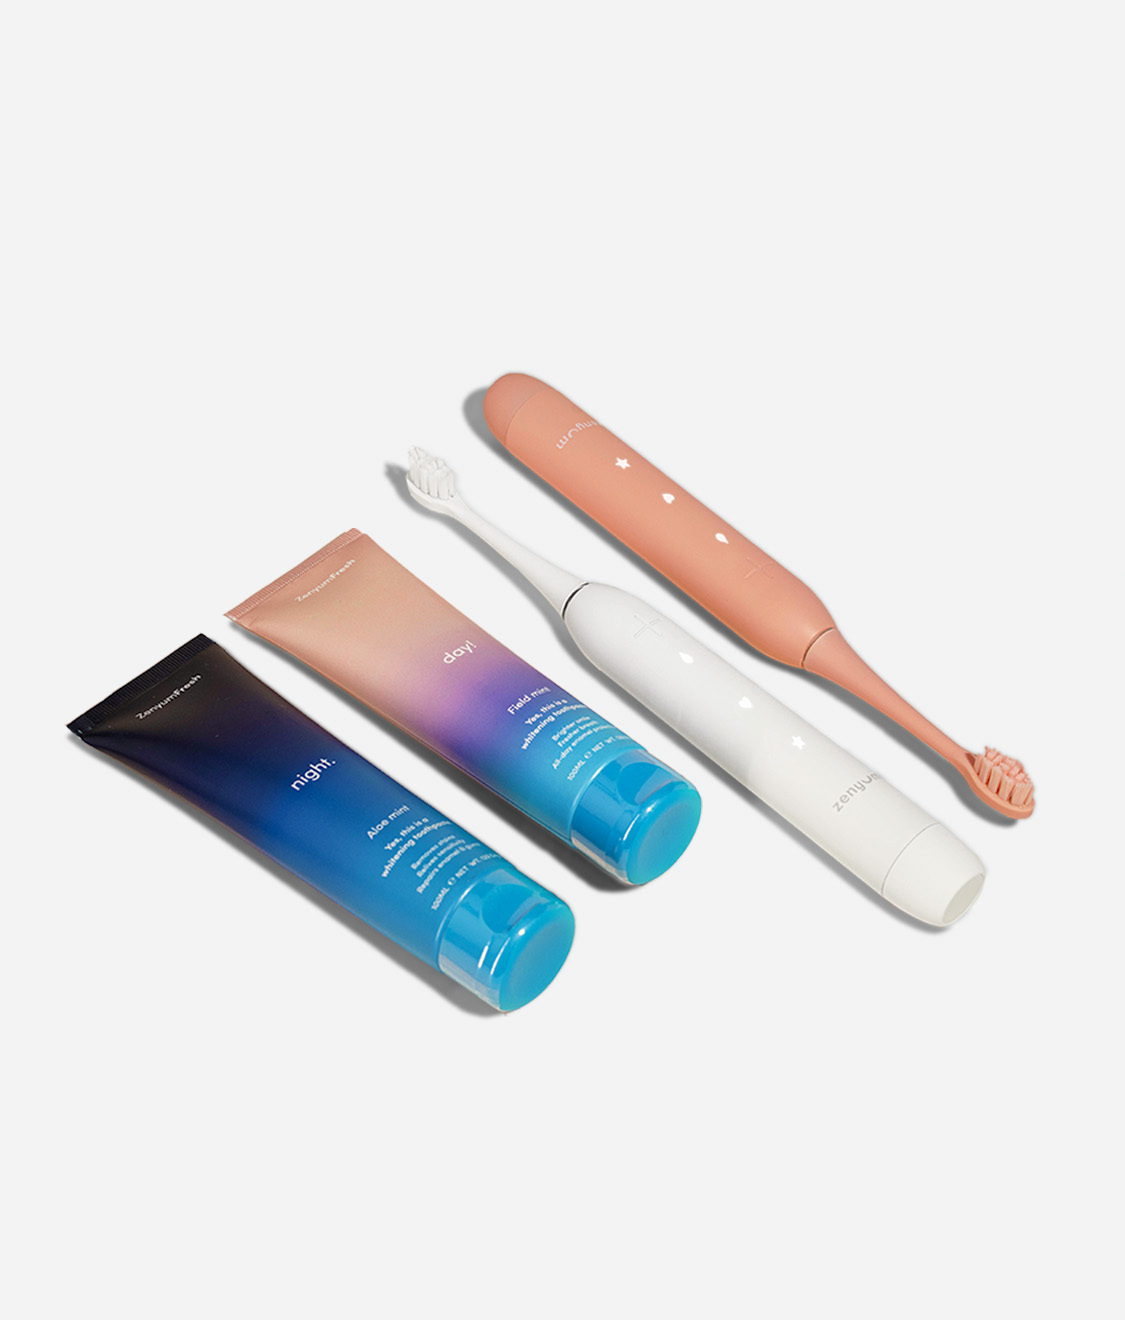
ZenyumSonic Starter Kit, RM354
For the evening, I usually kick off my routine with the Waterflosser Pro to dislodge any food stuck between my teeth. Then, I’ll go in with the toothbrush and the Fresh Night Toothpaste—a charcoal-infused whitening formula that tackles the day’s stains and soothes my teeth and gums with aloe vera and calcium. To finish off, I’ll then rinse and go back in with the water flosser to make sure I’ve tackled every crevice of my mouth.
The verdict on the water flosser
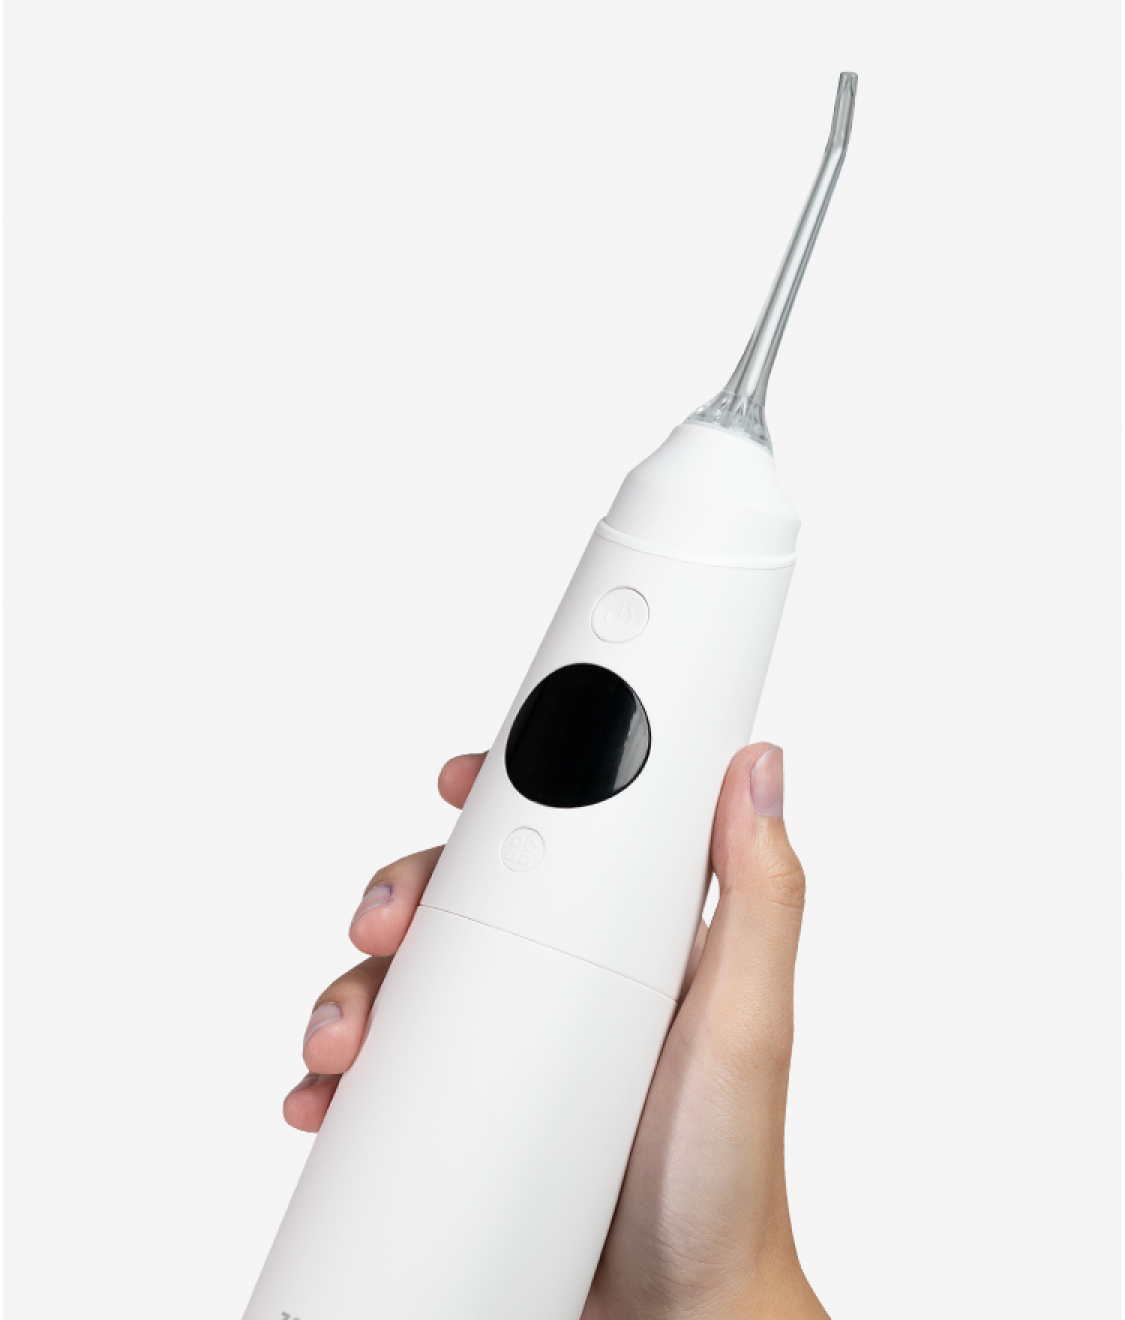
Overall, I’m pretty pleased with my new water flosser. There is definitely a bit of an adjustment period involved, but as a whole, it’s pretty easy to use. Plus, it does a great job with my permanent retainer, tackling any built-up plaque lodged in the wires.
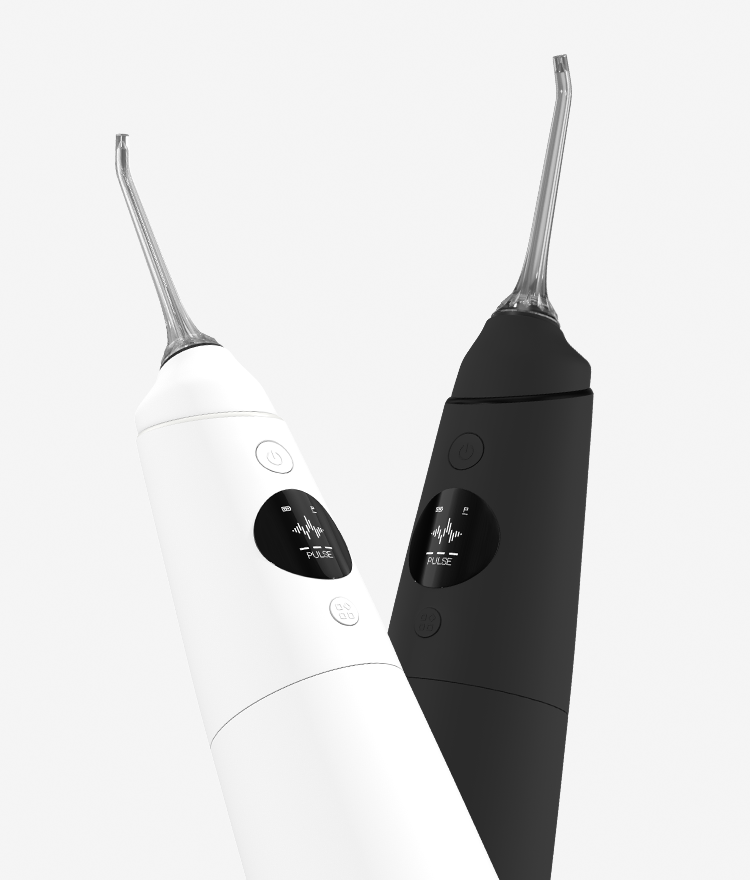
I must say that the Waterflosser Pro is quite well designed, with five cleaning modes (including a DIY mode with customisable pressure settings, which is perfect for those with sensitive gums) and a built-in OLED display. It also has a sizeable water tank that reduces the risk of refill interruptions mid-floss.
Really, the only things I’m left wanting for this device are a more waterproof build and a slightly more streamlined shape. It is a little bulky to hold at times which, coupled with the fact that it isn’t waterproof, means that it can be a bit awkward to use at times.
That said, compared to traditional string floss, it’s a winner. If, after reading this, you’d like to get yourself into the oral irrigation game, here are my top five tips:
Zenyum Waterflosser Pro, RM399
TIP #1: Close your lips while flossing
The first mistake I made with my water flosser was keeping my lips parted as I used it. Fun fact: Teeth act as a great backsplash for water. Indeed, I made this grave error on my first trial run and, before I knew it, everything in my bathroom (including me!) was completely soaked.
By keeping your lips closed as you floss, you can then control the flow of water and prevent splashing. Just make sure you’re standing over a sink—which brings us to our next point…
TIP #2: Floss over a sink
Believe it or not, using a water flosser can be extremely messy. Unless you’d like to get your entire bathroom wet (or choke on your floss water trying to keep it in), we recommend leaning over a sink while you floss.
TIP #3: Start at the back of your mouth
Personally, I prefer starting at the back of my mouth, tackling my gums and tooth gaps at a 45º angle, before making my way towards the front of my mouth. I’ve found this to be the easiest way to manoeuvre the jets. I also clean the anterior surface of all my teeth before moving on to the posterior side so I can keep track of my cleaning routine better.
TIP #4: If it stings, turn it down!
Flossing should never hurt. If you’re doing it right, it’ll feel comfortable—more like a massaging sensation than a stinging one. It’ll take some time to figure out which setting works best for your gums, but my best advice is to start with the lowest setting and work your way up gradually.
TIP #5: Use different tips for different needs
Every water flosser comes with a different set of tips designed to tackle different things. When in doubt, the default tip will work just fine. However, if you’d like to improve the effectiveness of your cleaning, especially around problem areas like implants or braces, you might want to look into the other options offered by your flosser.
The Zenyum Waterflosser Pro has four jet tips you can use. I tend to use the default tip for the most part but, when it comes to cleaning my aforementioned permanent retainer, I use the brush jet tip for a deeper clean. All in all, it just depends on what you need specifically, so experiment with your options!
Find more beauty stories like this here.
| SHARE THE STORY | |
| Explore More |


