How To Grow Out Your Fried, Damaged Hair With Minimal Breakage
No breaking point
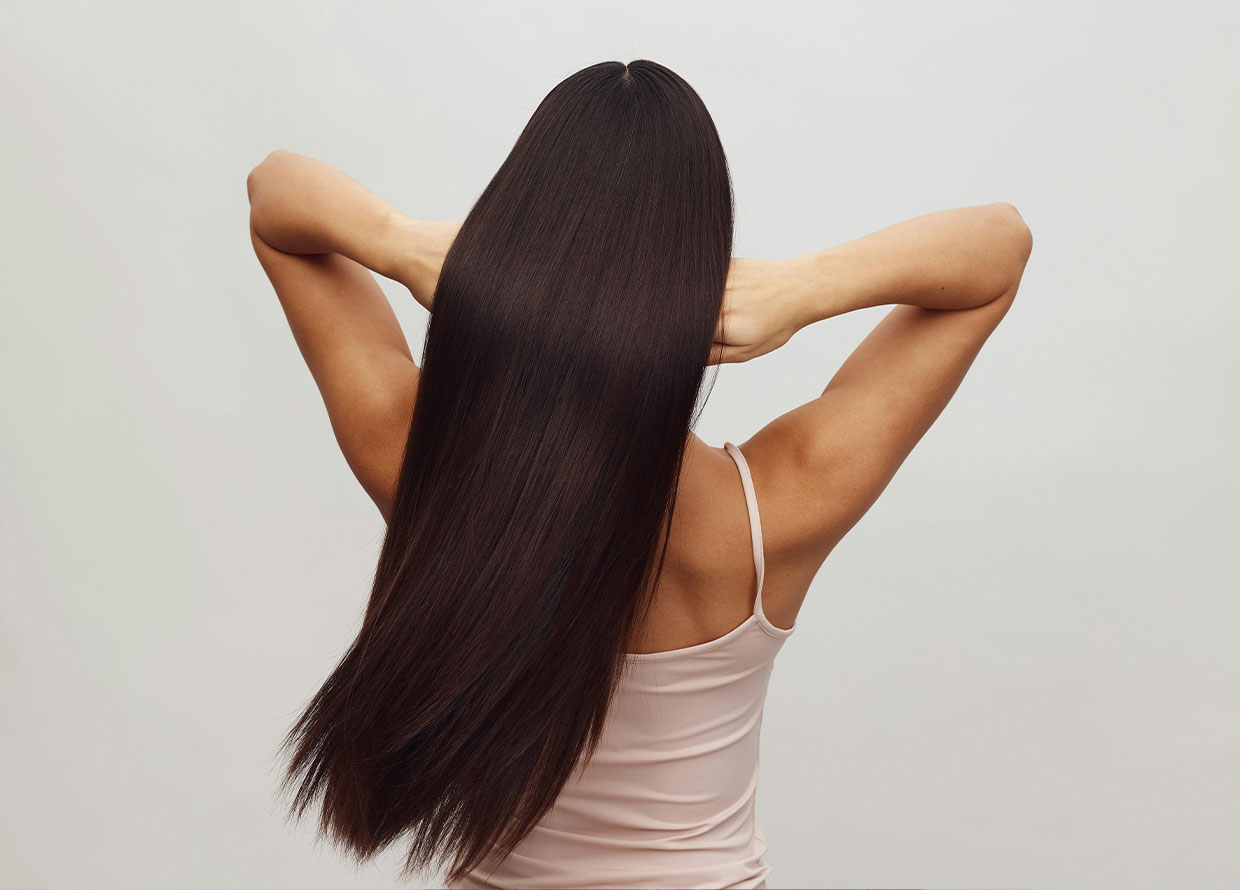
From bonnets to detangling brushes, here’s how to get your damaged tresses back in tip-top shape, as tried and tested by Beauty Editor Redzhanna.
I recently bit the bullet and went back to black after two straight years of platinum blonde upkeep, and needless to say, my hair is… fried. Sure, it looks like my virgin hair, but as far as feel and condition go, it’s damaged. Really, really damaged. If I’m being honest with myself, it’s my fault. I certainly wasn’t diligent enough with the upkeep towards the end (have I mentioned that going platinum takes a lot of work?), and as a result, my hair straight-up gave up on me. Realistically, I probably should have thrown in the towel about a year ago, but what can I say? Being blonde really was just more fun.
Thankfully, there is still hair on my head. However, it’s covered in splits, it’s very dry, and there is evidence of chemical cuts in certain areas. At this point, I should probably just chop it all off; however, I do have a big wedding coming up soon (mine), and so I’m trying to avoid it as much as I can. The contingency plan? Business as usual for me and my hair routine, except this time, I’m ramping up the TLC to help my tresses recover and grow. Ahead, find my tried-and-tested guide to growing your damaged hair out with minimal breakage.
Step 1: Get a big chop
View this post on Instagram
This may seem counterintuitive, but step one of hair rehab is to chop as much of your dead ends off as possible. I refused to enter bob territory, but I did end up getting a significant haircut, going from waist-length to boob-length hair with plenty of layers to blend the bigger areas of breakage. As much as I miss the length, I have to say that it was completely necessary. Immediately after the cut, my hair felt and looked a lot better, and from here on out, it’s just all about getting regular trims to keep it that way.
Step 2: Get your base hair routine right
View this post on Instagram
Healthy hair starts at the root, so making sure you’re locked into a great scalp and hair care routine is key to getting your locks back to their crowning glory. The right routine for you really depends on your hair type and environment, but as a general rule, you’ll want to include the following: a clarifying shampoo once a week; a hair mask at least once a week, but ideally with every wash; and a good hair oil. Personally, I’ve found that these three things have made the biggest difference in the health of my hair.
Step 3: Add a bond builder to your hair routine
View this post on Instagram
If your hair is bleached or chemically treated in any way, chances are that you’ve got yourself a case of weak strands. What a bond-building product will do is help you repair and strengthen broken hair bonds within your strands caused by colour, bleach, heat and chemical treatments.
I have two personal favourites. The Ouai Bond Repair Balm (RM245) is super easy to use—just apply it in the shower after shampooing, leave it in for three minutes while you cleanse your body and face, and rinse it out. Then, just dry and style your hair as usual!
The other is the K18 Leave-In Molecular Hair Repair Mask (RM385). Simply apply it to towel-dried hair straight after shampooing, leave it in for four minutes, and style as usual! Both options are super user-friendly and don’t take a lot of time and effort to work. Better yet, I’ve found that both bond builders make my hair look and feel so soft and healthy!
Step 4: Get yourself a good detangling brush
View this post on Instagram
A good hairbrush is an absolute must, together with great brushing technique. My detangling brush of choice is a Tangle Teezer—I usually brush my hair when it’s wet, and I’ve found that I get the least amount of breakage using this brush as compared to other brushes. That said, I’ve also found that detangling in the shower with a wide-toothed comb and my hair mask works really well, too.
In terms of technique, all you have to do is make sure you’re brushing from the ends up, going in small sections, and cleansing your brush regularly!
Step 5: Dry your hair ASAP after every wash
View this post on Instagram
The worst thing you can possibly do for your damaged hair is leave it to air dry. Structurally, wet hair is weaker, and the longer you leave it wet, the more damage it incurs. Fortunately, the solution here is very simple—just blow-dry it ASAP once you’re out of the shower.
PS: Obviously, heat damage is still a concern, so make sure to load up on heat protectants and use the cool air setting on your hairdryer.
Step 6: Avoid heat styling as much as possible
View this post on Instagram
Speaking of heat damage, you should also keep heat styling to a minimum. The last thing you want to do is add insult to injury with your damaged strands. If you must use heated styling tools, make sure you’re using heat protectant and keep the use of heat tools to once or twice a week, max.
And, for those who really can’t go without their signature curls, it’s time to experiment with heatless curlers and braiding techniques!
Step 7: Invest in some silk accessories
View this post on Instagram
Friction is the enemy of damaged hair, and it’s absolutely everywhere. It’s on your cotton pillow as you sleep, the hair tie that holds your ponytail together, the purse strap on your shoulder—we could go on. All of this rubbing and tugging damages your strands over time, leading to breakage. That’s why, where you can, you should try taking off some of the strain with a little silk or satin.
Sleeping with a silk pillowcase or bonnet, tying your hair up with a silk scrunchie, and even styling with silk or satin heatless curlers will help keep your hair happy for longer!
Step 8: Wear your hair down as much as possible
View this post on Instagram
In the same way that friction can hurt your hair, high tension can do the same. When you put your hair up, you’re adding stress to your tresses unnecessarily with both the weight of your bun or ponytail and the strain from slicking or pulling it back. As a general rule, keep your hair down and free as much as possible while you’re trying to grow it out long and strong!
For more hair reads like this, click here.
| SHARE THE STORY | |
| Explore More |

