How To Fix Your Tattered Nails After Getting Your Gels Off
Nailed it!
Looking for a way to bring back your post-gel nails from brittleness? We’ve got just the beauty guide for you.
Nothing quite beats the total euphoria of a fresh set of gels. The tidy cuticles, the pretty designs, and the promise of a full month of slayage? It’s a lifestyle! It’s an addiction! They’re fabulous! Well, at least at first.
Eventually, a few weeks go by, and the regrowth kicks in. Maybe you fill in the difference, maybe you don’t, but eventually you get to a point where your nails need to come off. From there, you either get a fresh set (yay!) or you try to give your natural nails a breather.
Of course, if you do opt to rock your bare nails, it’s dire. Chances are, once the polish is shaved off, your nails are in pretty bad shape. They’re thin, fragile, and they’re constantly bending in unnatural ways, exacerbating the issue. It kind of forces you into a vicious cycle—you either keep getting new gels done, or you suffer through countless months where you’re scared to do anything with your hands lest the whole nail comes clean off.
It doesn’t have to be this way, though. With the right nail care routine, you can keep your nails strong enough to resist snapping while they recover to their full strength. Ahead, we share our best advice for bringing your claws back from polish purgatory:
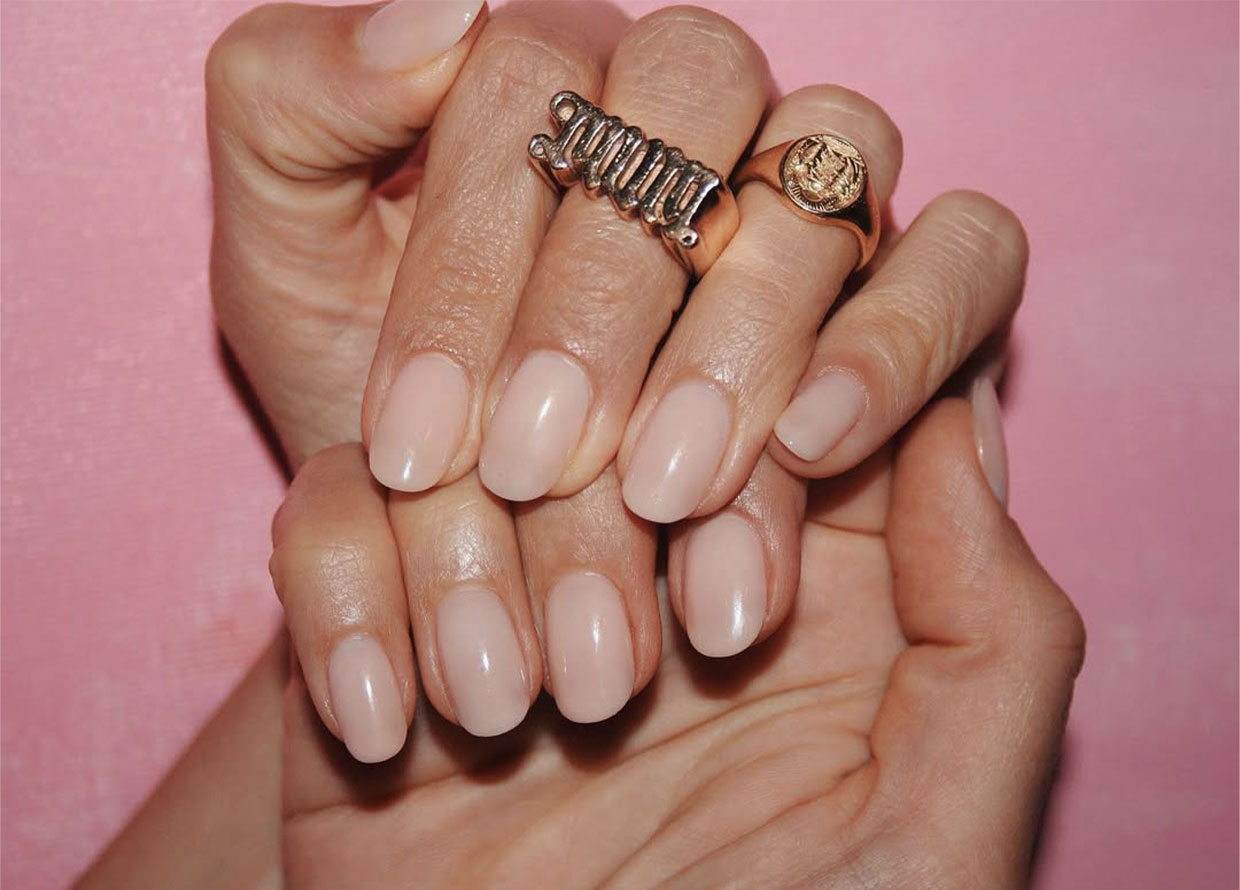
Step 1: Get your gels removed at the salon
View this post on Instagram
To give your mitts their best chance at success, you’ll want to do everything right from the get-go. That means getting your gels off at the salon! Letting a professional handle the removal means you incur the least possible damage. And, while you’re at it, make sure you don’t pick at your gel manicure at all—ripping it off may scratch an itch in your brain, but it’s not worth the damage.
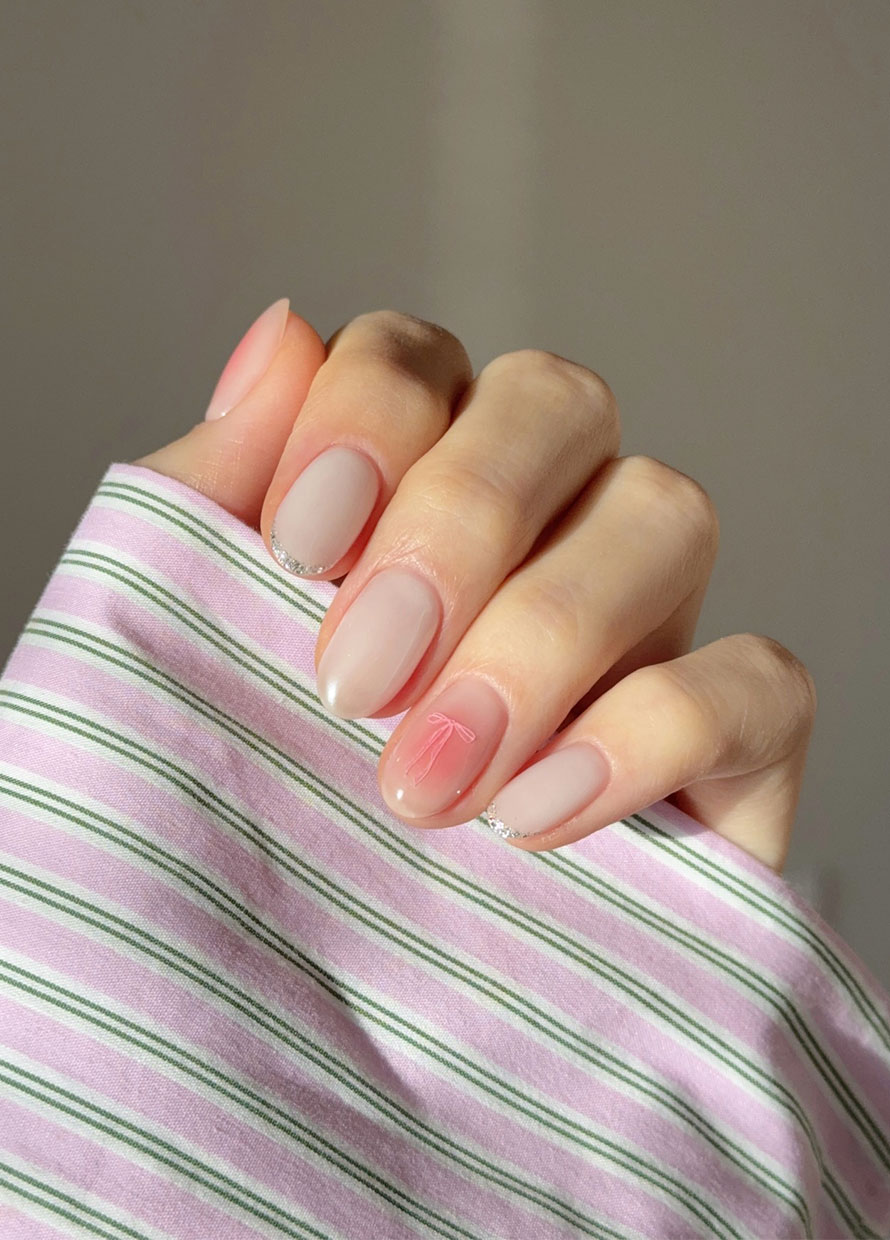
Step 2: Lose the length
View this post on Instagram
You’ll hate this step if you’re used to being a stiletto-nailed baddie, but it’s a necessary evil if you want to get your claws right as soon as possible. Clip your nails down, then file them the rest of the way with a glass file. PS: You’ll also want to file in one direction to smooth the edges of your nails and prevent splitting.
Step 3: Use a strengthening treatment
View this post on Instagram
When it comes to dealing with thin, damaged nails, a strengthening treatment is your first line of defence. A treatment like the OPI Nail Envy Nail Strengthener Original (RM117) helps to harden and strengthen your natural nails using a blend of hydrolysed wheat protein and calcium. And, if you want to maximise the strengthening and fortify your regrowth, pairing the treatment with a daily cuticle oil like jojoba that mimics your natural oils will do wonders to hydrate and protect your nails.
Step 4: Get a strengthening manicure
View this post on Instagram
Ideally, you’ll want to give your nails a break for two to four weeks after gel removal. However, if you really can’t stand the idea of rocking your bare nails, then you can do a non-gel, strengthening manicure. Essentially, after you apply the nail strengthener to your bare nails, follow up with a ridge-filling base coat, the nail polish of your choice (coloured or clear), and follow up with a top coat to seal each layer in.
Step 5: Baby your nails until they’re all better
View this post on Instagram
Unfortunately, beyond the above, there’s not much else you can do but wait before your nails return to tip-top shape. It’s mostly staying consistent with your strengthening routine, and opting to file down your nails instead of using a nail clipper. You’ll also want to avoid causing more damage, and that means avoiding picking at your nails, keeping your nails dry as much as possible, considering hair and nail supplements, and resisting the urge to use gel or acrylics again.
For more beauty reads like this, click here.
| SHARE THE STORY | |
| Explore More |

